Best Practices for Organizing Your Digital Camera Gear
20 June 2026
So, you've got the camera, the lenses, the memory cards, and maybe even a drone or two. Great! But if your gear is scattered all over the place or jammed into a messy backpack, you're setting yourself up for missed shots, damaged equipment, or just a plain ol' case of frustration. Let's fix that, shall we?
In this guide, we're diving into the best practices for organizing your digital camera gear — whether you're a seasoned pro or just starting your journey behind the lens. Trust me, a little organization goes a long way.
Why Organizing Your Camera Gear Matters
First things first—why should you even bother?Well, imagine arriving at a shoot only to realize your extra batteries are dead, your SD cards are missing, or worse—your lens is covered in dust because it wasn't stored properly. Sounds like a nightmare, right?
Organizing your gear is not just about neatness. It’s about efficiency, safety, and being prepared to do what you love—capturing stunning images—without setbacks. When your gear has a place, you're more confident, faster, and ready to focus on the creative side instead of the logistical chaos.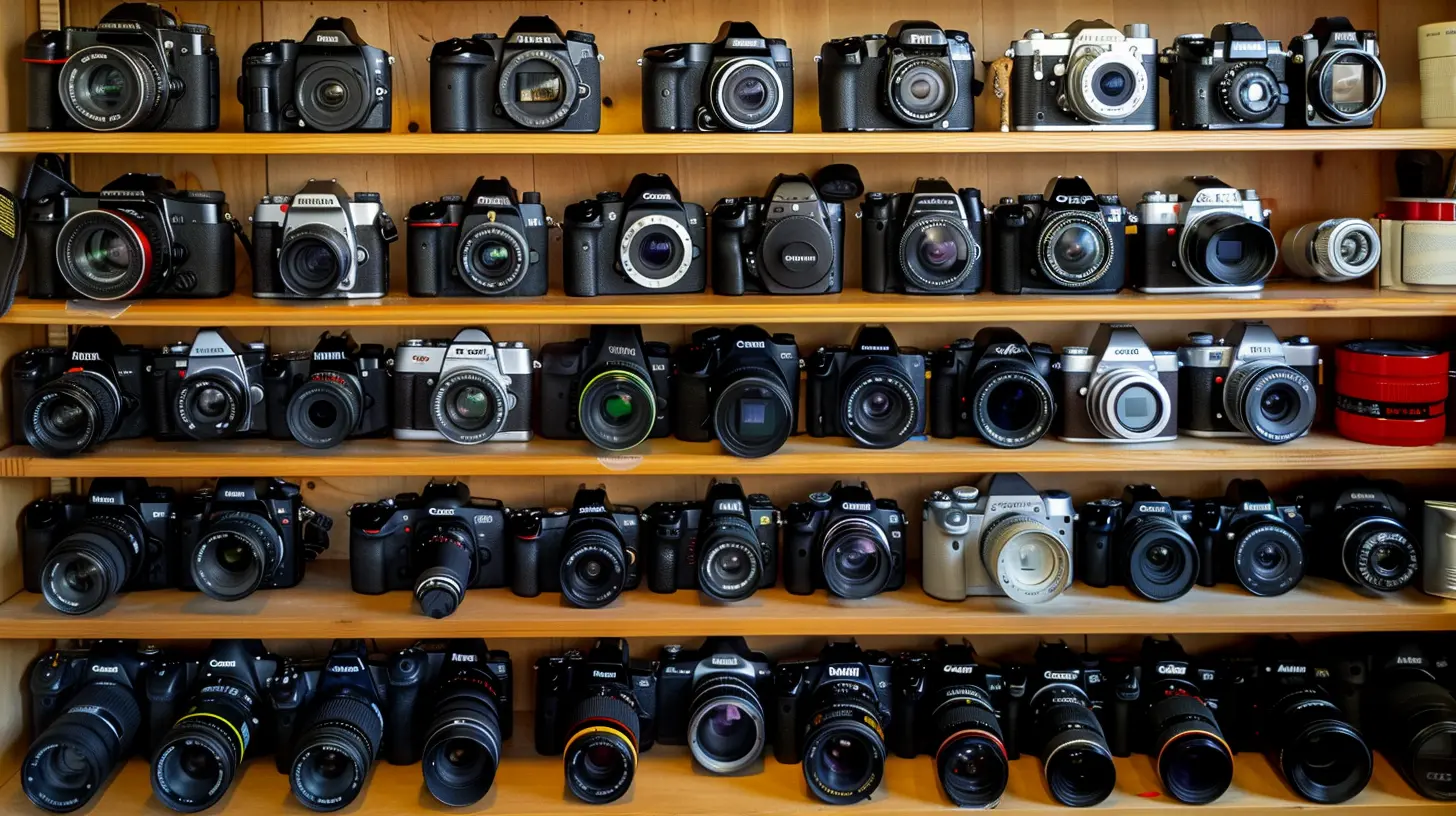
Step 1: Take Inventory of What You Have
Before you can organize anything, you need to know what you're working with. Take everything out. Yep, even that random strap you've never used.Lay it all out on a table or bed and start grouping things:
- Cameras (main body, backup)
- Lenses (wide-angle, telephoto, prime)
- Memory cards (SD, microSD, CF)
- Batteries and chargers
- Filters
- Flashes and lighting gear
- Tripods and monopods
- Cables and adapters
- Bags and cases
- Cleaning gear
Now you know exactly what you have, what’s redundant, and what might be missing. It's like doing a spring cleaning for your gear!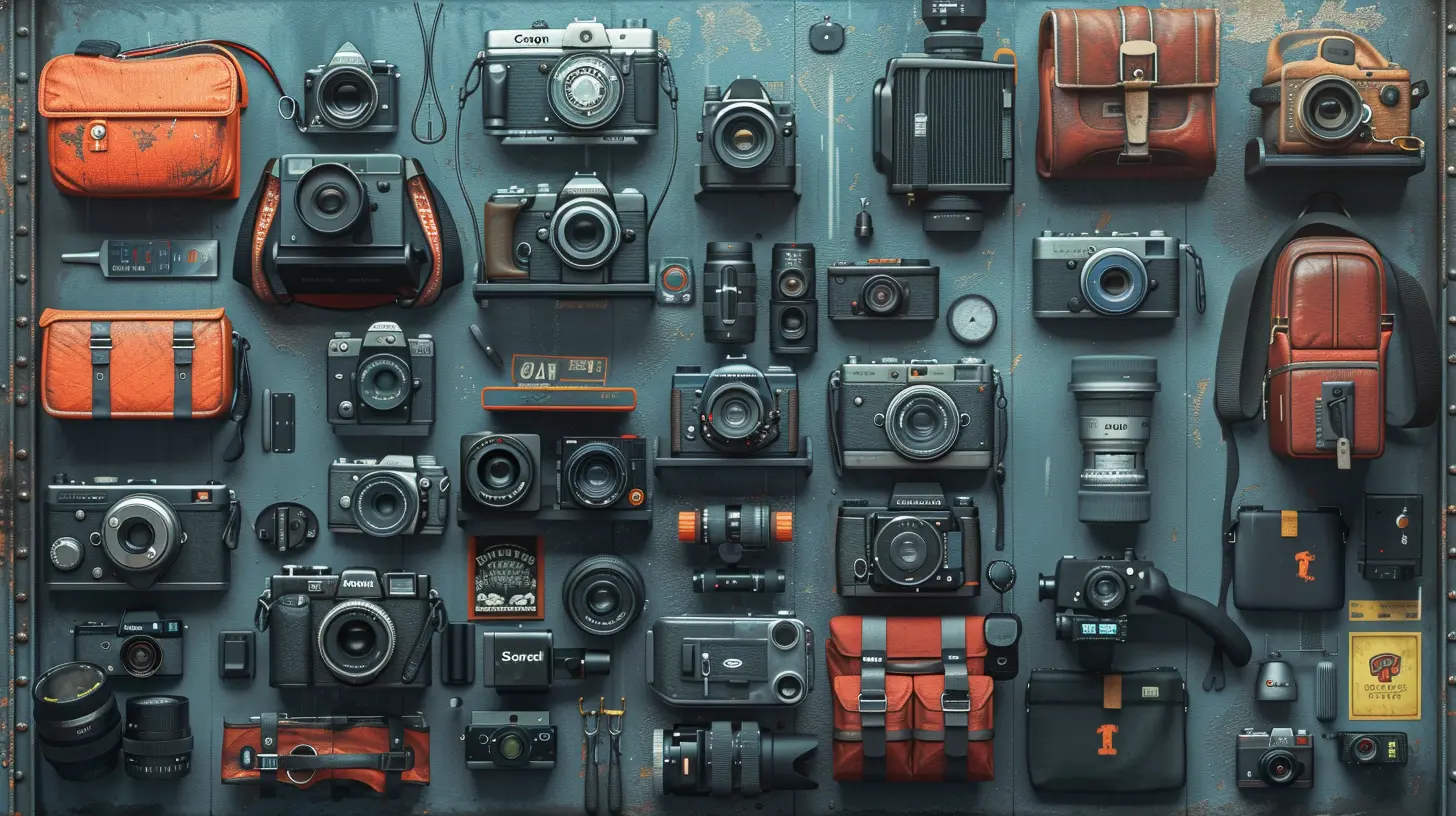
Step 2: Choose the Right Camera Bag
Your camera bag is like your mobile toolbox. You need one that fits your shooting style.- Backpacks are great for travel and hiking.
- Messenger bags are ideal for quick city shoots.
- Hard cases offer top-notch protection, especially for air travel.
- Modular systems let you customize the layout.
Make sure your bag has padded dividers and compartments, so each piece of gear stays snug and safe. Don’t just throw gear in—give everything its home.
Pro tip: Keep a small bag packed with your essentials for those quick grab-and-go photo missions.
Step 3: Use Pouches and Organizers Inside Your Bag
Imagine trying to find a tiny SD card in a sea of batteries, cables, and lens caps. Nightmare, right?Using pouches and small organizers keeps things tidy:
- Memory card wallets for cards (especially full vs. empty)
- Battery cases to avoid shorts and keep charged batteries separate
- Cable organizers for chargers and cords
- Lens pouches for added protection
- Label makers or colorful tags to quickly identify gear
Simple additions like these speed up your workflow and eliminate the guesswork.
Step 4: Label Everything (Yes, Everything)
You might think you'll remember which battery is dead, or which SD card has your last shoot. Spoiler alert: you won’t.Get a label maker or masking tape and a sharpie. Label your batteries (e.g., 1, 2, 3), your memory cards with date or size, and even your cable types. Not only does this help you stay organized, it saves you from potential disasters on location.
Also, consider marking your gear with your name or business just in case something gets lost. It’s like putting a return address on your favorite hoodie.
Step 5: Set Up a Home Base
Just like your favorite coffee shop, your gear needs a home base. A dedicated space where everything lives when not in use. It could be:- A closet with shelves and drawers
- A desk with storage bins
- A rolling storage cart (great for small spaces)
Use clear plastic bins, drawer organizers, or pegboards to create easy-to-navigate storage. Bonus points if you can lock it up for security.
Cool idea: Mount your tripods, light stands, or even drones on the wall with hooks. Not only does it save space, it looks pretty rad too.
Step 6: Create a Charging Station
Running out of battery mid-shoot is the kind of drama no photographer needs. Having a dedicated charging station helps you stay powered up and ready to roll.Grab a power strip and set up a space where you can charge:
- Camera batteries
- Drone batteries
- AA/AAA batteries (for flashes, remotes, etc.)
- USB devices (gimbals, lights, etc.)
Label each charger, and use small baskets to corral cords and batteries. If you've got space, a drawer for charging gear keeps everything hidden but handy.
Trust me, a charging station turns chaos into calm.
Step 7: Maintain Your Gear Regularly
It’s not just about storage—it’s about upkeep.Keep a cleaning kit handy:
- Microfiber cloths
- Lens cleaning solution
- Sensor swabs
- Air blower
- Lens brush
Regularly wipe down cameras and lenses, clean contacts, and check for damage. Don’t forget to backup your memory cards and format them properly after every shoot.
Think of it like brushing your teeth—you do it often, not because it's exciting, but because it prevents bigger problems.
Step 8: Pack Based on the Shoot
Don't haul your entire kit everywhere. That backpack full of gear? It gets heavy fast. Be strategic.Before every shoot, ask yourself:
- What kind of shots am I taking?
- What’s the lighting like?
- Indoor or outdoor?
- How much space do I have?
Pack only what you need. This not only lightens your load but keeps you focused.
Tip: Keep a checklist for typical shoot types (portraits, travel, weddings, etc.) so you don’t forget essentials.
Step 9: Backups and Duplicates Matter
Ever had a card fail or a battery mysteriously vanish? It happens, and when it does, backups are your best friends.Keep extra:
- Memory cards
- Batteries
- Lens caps
- Chargers
- Cables
It might feel like overkill, but backups are like seat belts—you don’t always need them, but when you do, you’re glad they’re there.
Step 10: Go Digital with Gear Tracking
If you’ve got a lot of gear, consider using an app or spreadsheet to track everything. Include:- Serial numbers
- Purchase dates
- Warranty info
- Maintenance dates
- Location (if split between studio/home)
Apps like MyGearVault or GearLog are great for managing your inventory, especially if you need records for insurance.
Bonus Tip: Travel Smart
When traveling with gear, be extra cautious. Always:- Carry-on your most valuable items (camera bodies, key lenses)
- Use hard cases if checking gear
- Keep batteries and memory cards in your personal item
- Label everything with your info
- Insure your gear (seriously, don’t skip this)
Whether it’s a road trip or an overseas job, a well-packed kit is your photography passport to peace of mind.
Final Thoughts
Organizing your digital camera gear isn’t just about being tidy—it’s about being smart. When your gear is in order, you think clearly, you shoot better, and you’re always ready for whatever comes your way.So take the time, set up your system, and stick with it. Your creative process (and your back) will thank you.
Happy shooting!
all images in this post were generated using AI tools
Category:
Digital CamerasAuthor:

Michael Robinson
Discussion
rate this article
1 comments
Zadie Fuller
Great tips! Keeping camera gear organized can make such a difference when shooting. I love the idea of using labeled bins... it really helps to grab what you need quickly. Can't wait to try this!
June 20, 2026 at 3:38 AM