How to Use Depth of Field to Your Advantage in Digital Photography
19 October 2025
If you've ever looked at a photo and noticed how the subject pops while the background melts into a soft blur, you've seen the magic of depth of field in action. It's one of those things in photography that looks complicated but is actually super fun (and incredibly powerful) once you get the hang of it.
Whether you're snapping portraits, capturing landscapes, or shooting shots for your blog or social media, understanding how to use depth of field to your advantage can take your digital photography game to a whole new level.
So let's break it all down in a simple, chatty way and help you nail those shots you've always admired!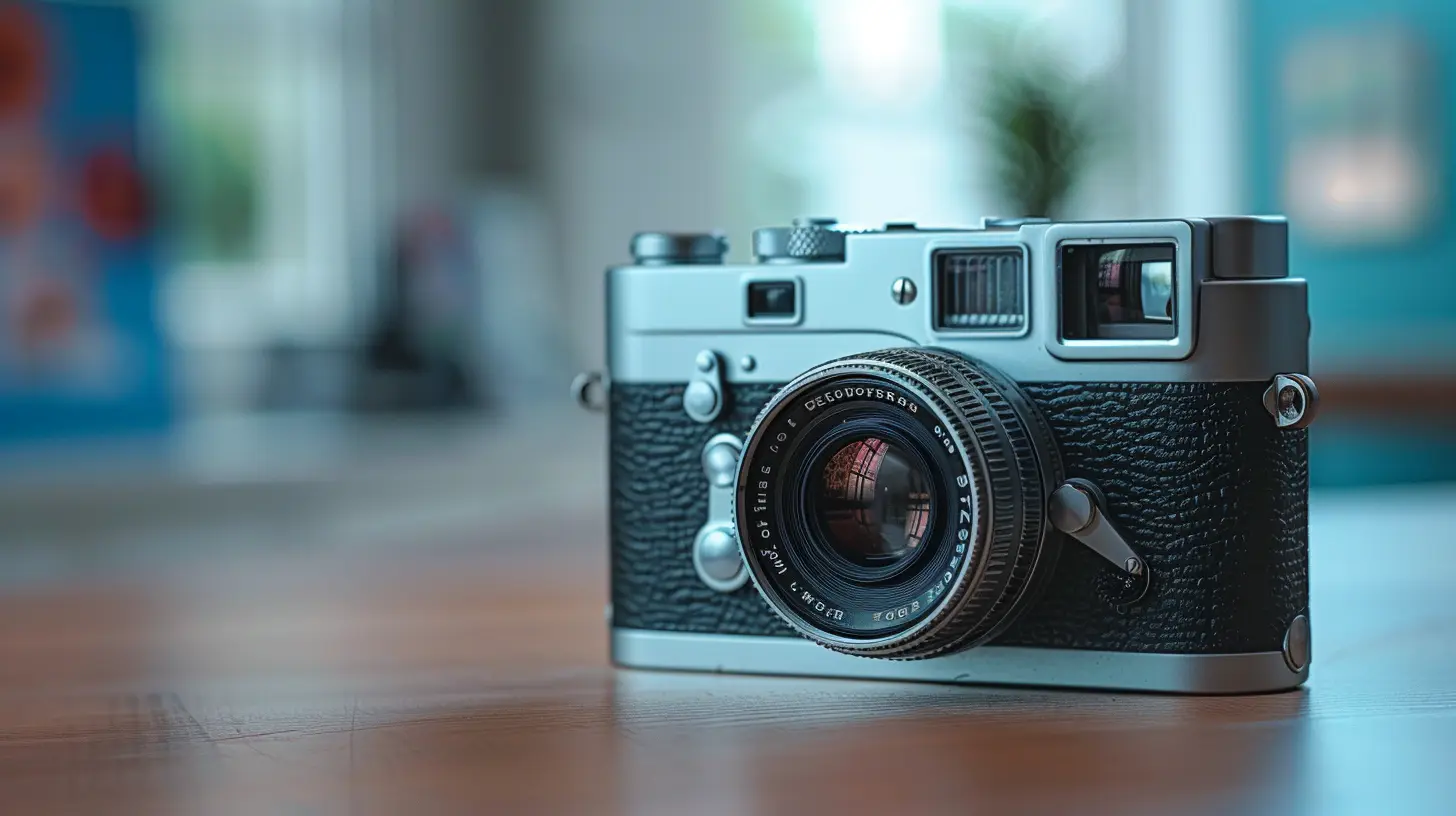
What Is Depth of Field, Really?
Alright, let’s start with the basics. Depth of Field (often just called DOF) is the amount of your image that's in sharp focus, front to back. It’s like deciding how much of the scene you want to be crisp versus how much you want to blur into dreamy goodness.- A shallow depth of field means only a small part of the image is in focus — usually your subject — while everything else (before and behind it) is soft and blurry.
- A deep depth of field means most or all of the image is sharp and in focus, from the closest leaf to the furthest mountain.
Pretty straightforward, right? But the magic really happens when you start using it intentionally to guide your viewer’s eye and tell a story.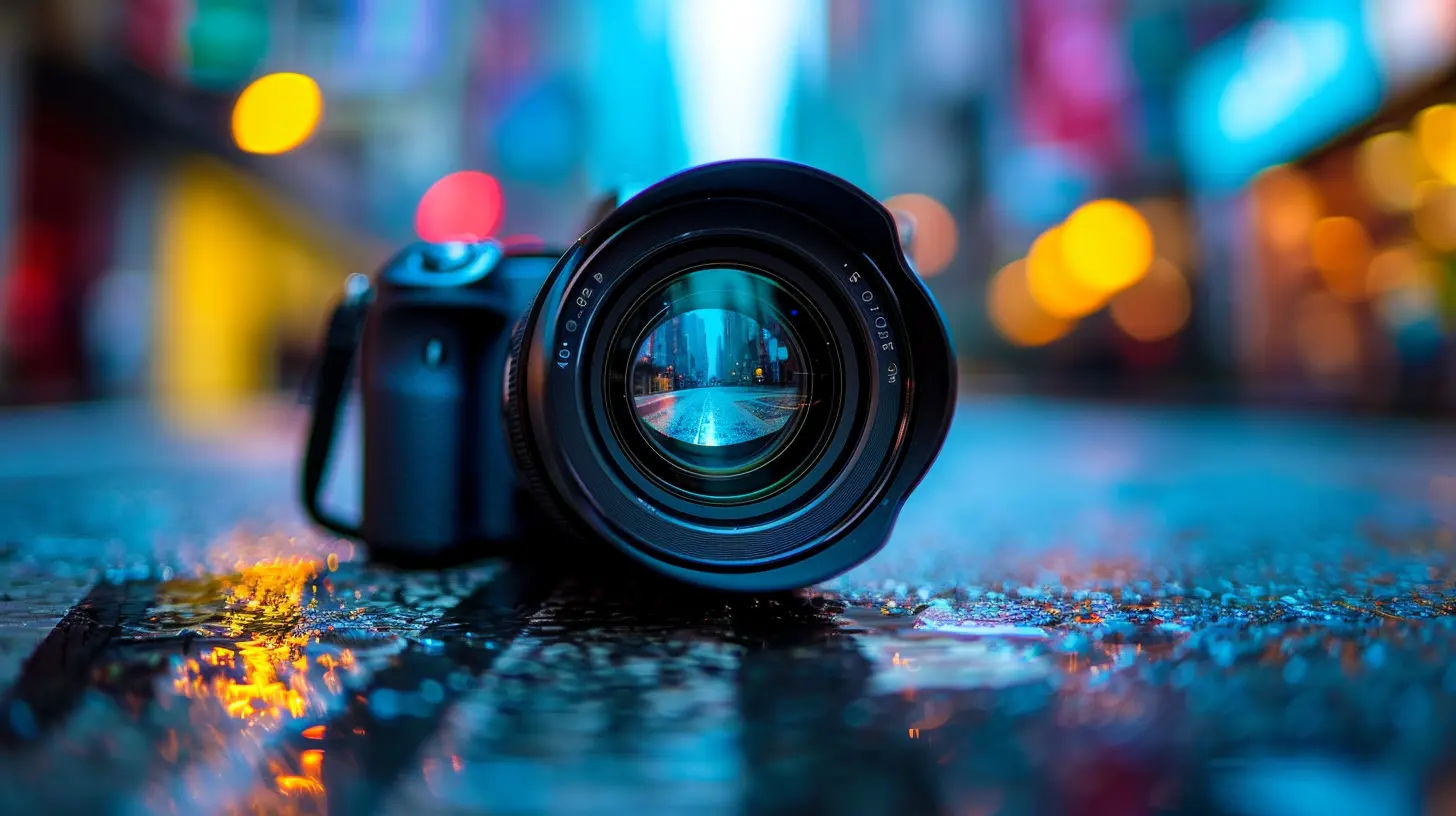
Why Does Depth of Field Matter?
Let’s say you’re taking a picture of a friend at a bustling street café. With a shallow depth of field, you can isolate them from the noisy background, making them the clear focus of the image.Now imagine you’re photographing a stunning landscape — mountains, trees, rivers, all that beautiful chaos. You’d probably want a deep depth of field so everything from the grass in the foreground to the clouds in the sky is sharp and loaded with detail.
Depth of field gives you control. It's like adjusting the volume of different parts of your image. Want loud, crisp details everywhere? Go deep. Want the subject to “sing” while everything else mellows out? Stay shallow.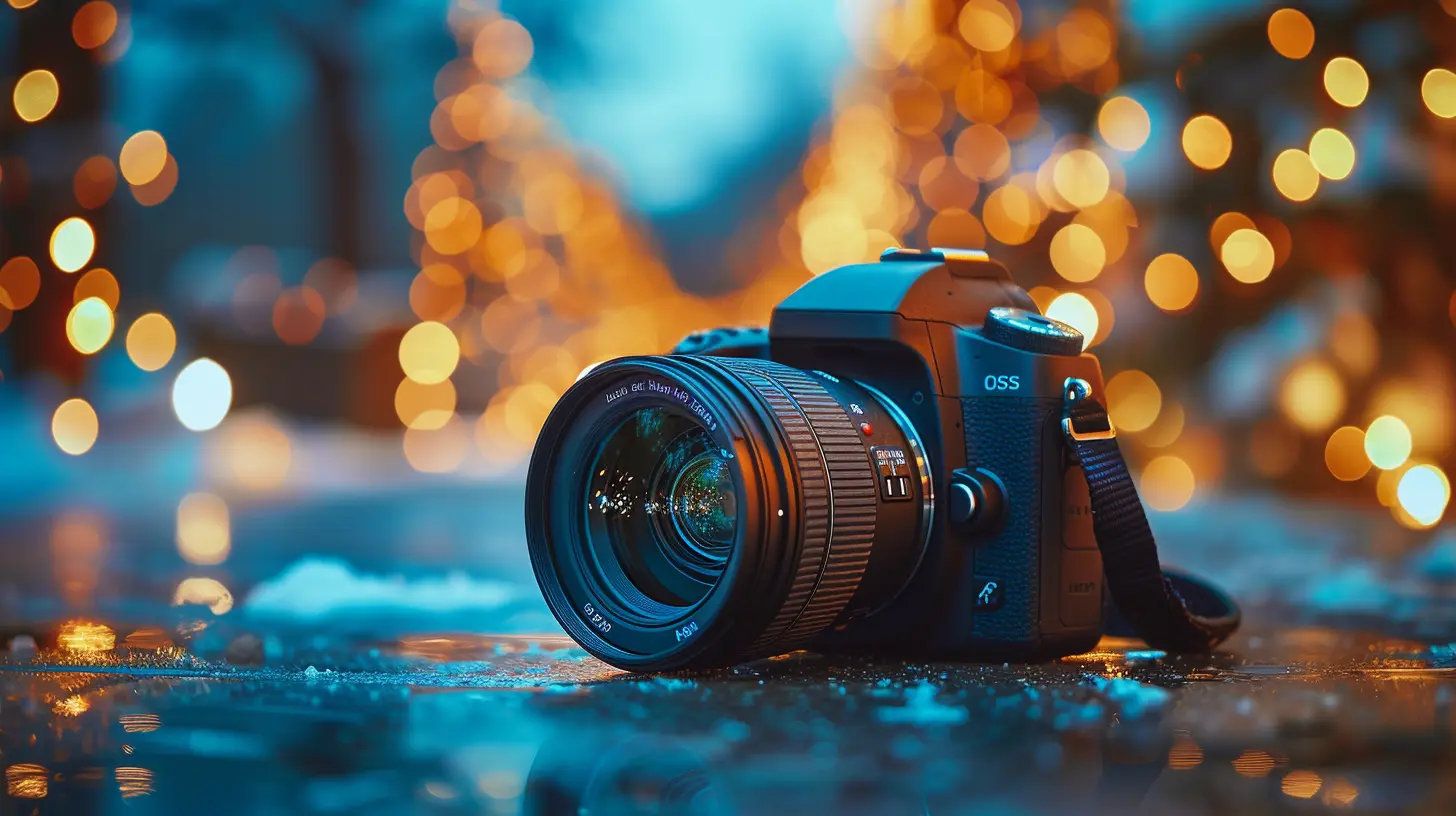
The Three Main Factors That Affect Depth of Field
Here’s where things get juicy. There are three big elements that influence depth of field, and once you understand them, you’re golden.1. Aperture (f-stop)
Aperture is the opening in your lens. Think of it like your eye’s pupil — it gets bigger in the dark and smaller in bright light.- A wider aperture (like f/1.8 or f/2.8) = shallow depth of field
- A narrower aperture (like f/11 or f/16) = deep depth of field
So if you're aiming for that creamy background blur (aka bokeh), dial down to a low f-number. Want everything in the frame sharp as a tack? Crank it up.
2. Focal Length
This is the zoom factor of your lens.- Longer focal lengths (like 85mm or 200mm) naturally compress the background and reduce depth of field.
- Shorter focal lengths (like 18mm or 35mm) increase depth of field — more of your image stays sharp.
Ever wonder why portraits taken with telephoto lenses have that amazing blur? Yep, focal length is working its magic.
3. Distance Between Camera, Subject, and Background
This one’s a bit underrated, but super important.- The closer you are to your subject, the shallower your depth of field.
- The further away your subject is from the background, the blurrier that background gets.
So if you're trying to make your subject the star of the show, don’t just depend on aperture settings. Move closer, and create some separation from the background.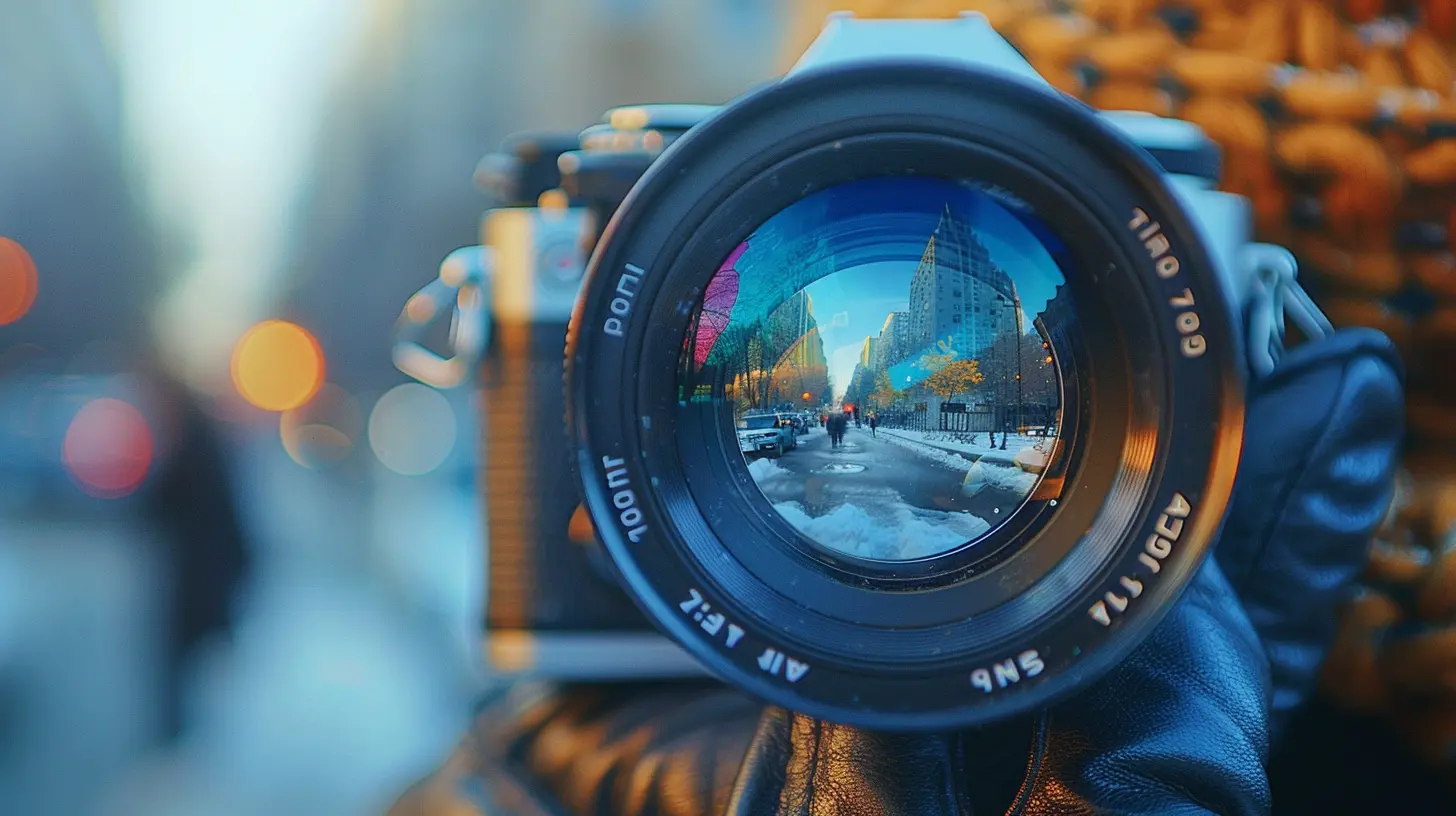
Using Depth of Field Creatively
Depth of field isn’t just a technical setting — it’s a visual storytelling tool. Let’s dive into a few ways you can use it to your advantage.Portraits: Let Your Subject Shine
Want your subject to jump out of the frame? Use a wide aperture like f/1.8 on a prime lens and get in close. This creates that gorgeous background blur that keeps all eyes on your model. It’s flattering, cinematic, and oh-so-professional looking.Pro tip: Watch the eyes! Make sure they’re in focus — blurred eyes in a portrait can feel a little off, even if the rest of the photo is sharp.
Landscapes: Show Off Every Detail
When you’re faced with a jaw-dropping view, you want the whole thing to be tack-sharp. Use a small aperture like f/11 or even f/16. Focus about a third of the way into the scene (thanks to something called hyperfocal distance) to keep everything from front to back in crisp clarity.Pair this with a tripod, because narrow apertures let in less light and might give you slower shutter speeds.
Street Photography: Balance Story and Focus
Street photography is that beautiful chaos where you want some blur, but not too much. Using a mid-range aperture like f/5.6 or f/8 gives you enough depth of field to keep your subject and a bit of context around them in focus.It’s like having your cake and eating it too.
Macro Photography: Embrace That Blur
When you're shooting up close — flowers, insects, textures — the depth of field becomes razor-thin. Even at f/8 or f/11, only a sliver of the subject is in focus.This is where focus stacking (combining multiple exposures at different focus points) can help, but sometimes, embracing that razor-thin DOF gives your macro shots a surreal, dreamlike quality.
Common Mistakes to Avoid with Depth of Field
Yep, it’s not all sunshine and bokeh. Let’s talk about some traps you’ll want to steer clear of.1. Using Wide Aperture All the Time
Just because you can shoot at f/1.4 doesn't mean you always should. Sometimes too much blur can be distracting, especially in group shots or environmental portraits where the background tells part of the story.2. Forgetting About Lens Quality
Not all lenses are created equal. Some lenses might produce soft images when used wide open. Test your gear — sometimes stopping down just one stop (say from f/1.8 to f/2.8) makes a big difference in sharpness.3. Not Accounting for Movement
Shallow depth of field and motion don’t always mix well. If your subject moves even a little, you could lose critical focus, especially with fast lenses. Combine your depth of field choices with a fast enough shutter speed to freeze the action.Using Depth of Field in Post-Processing
Believe it or not, you can tweak depth of field in post-production — to a degree.Software like Adobe Photoshop or Lightroom, and even smartphone apps like Snapseed, offer tools to fake or enhance depth of field. You can blur the background manually, simulate lens bokeh, or isolate your subject with clever masking.
While it’s never quite as natural as getting it right in-camera, it’s a great backup tool when you need it.
Try This: A Simple Depth of Field Experiment
Here’s a fun little exercise to really get the hang of it:Go outside. Find a subject — a flower, a coffee cup, your dog, anything.
1. Set your camera to Aperture Priority mode (A or Av on the dial).
2. Shoot the subject at the widest aperture your lens allows.
3. Take the same shot at f/4, then f/8, then f/16.
4. Compare the photos.
You’ll see how the background changes from a soft blur to a scenic backdrop as the aperture gets smaller.
It’s like magic — the kind you control with your fingertips.
Choosing the Right Gear for DOF Control
Not gonna lie — gear does matter when it comes to depth of field.- Prime lenses (like a 50mm f/1.8) are excellent for shallow DOF and won't break the bank.
- Zoom lenses with large apertures (like a 70-200mm f/2.8) give you flexibility, but they’re pricier.
- Sensor size matters, too. Full-frame cameras provide better DOF control than crop sensors or smartphones.
But…and this is a big one — you can work with whatever gear you have. Even smartphone cameras today have “Portrait Mode” that simulates shallow DOF pretty convincingly. Don’t let gear stop you from experimenting and creating.
Final Thoughts
Depth of field isn’t just another technical term — it’s your secret sauce for making photos that wow people. It’s what separates a snapshot from a show-stopper. And the best part? You don’t need fancy gear or a photography degree to master it — you just need to know how aperture, distance, and focal length dance together.Get out there and play around, try wild combinations, blur things on purpose, and see what speaks to you. That’s how you grow as a photographer.
Capture the moment, shape the story, and let the depth of field be your brush in the art of digital photography.
all images in this post were generated using AI tools
Category:
Digital CamerasAuthor:

Michael Robinson
Discussion
rate this article
1 comments
Tank Erickson
Focus whispers, dreams unfold.
October 19, 2025 at 2:17 AM

Michael Robinson
Thank you! Focusing on the right elements can truly elevate your photography and bring your creative vision to life.

