How to Use Flash Effectively with Your Digital Camera
25 June 2026
Photography is all about light, right? But sometimes, natural light just doesn’t cut it. That’s where your camera’s flash comes in. But if you’ve ever snapped a photo and ended up with harsh shadows, washed-out faces, or the dreaded "deer-in-the-headlights" look, you know that using a flash isn't always straightforward.
So, how do you use flash effectively with your digital camera? Let’s break it down in a way that’s easy to grasp and even easier to apply. 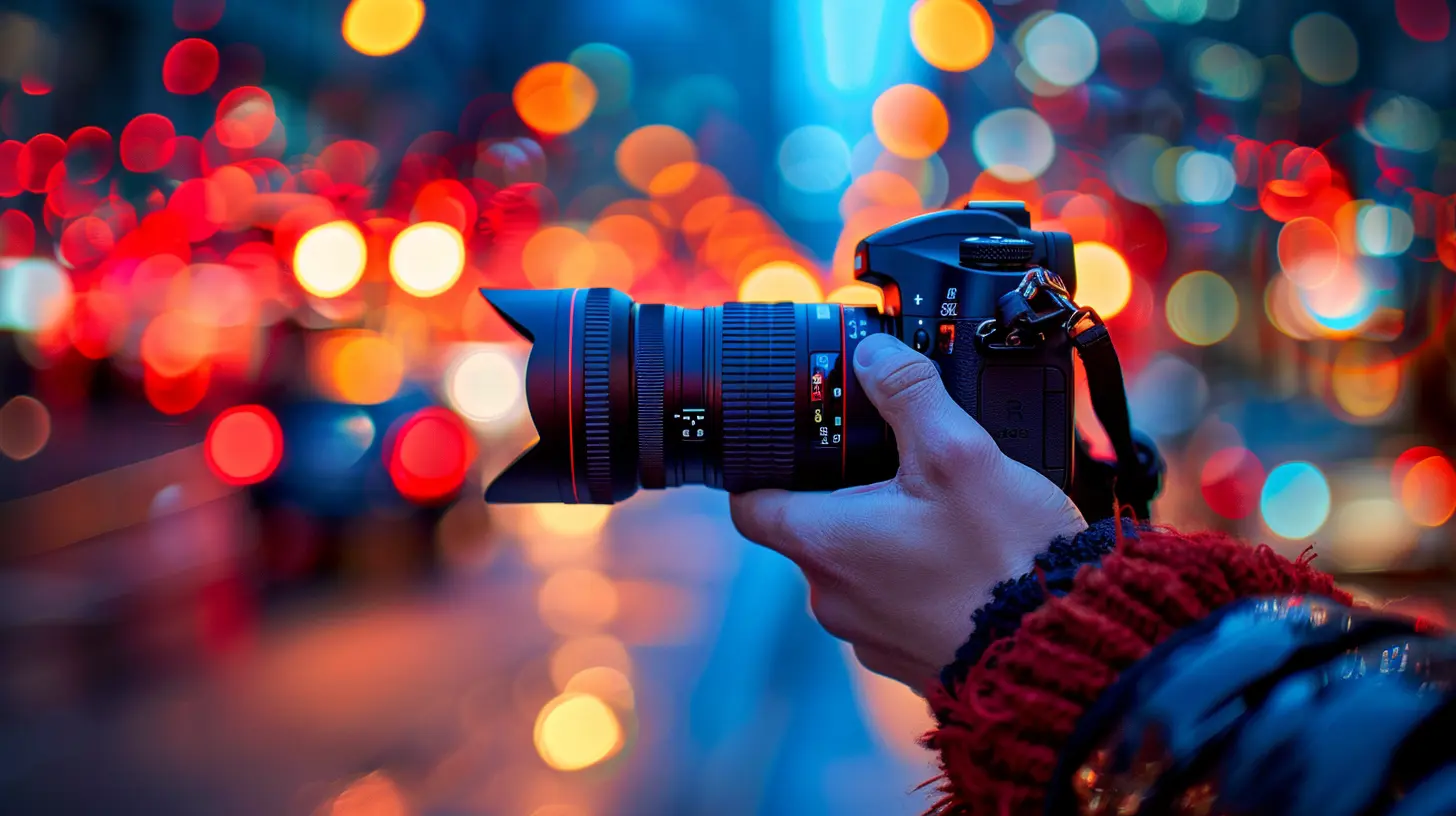
Why Flash Matters in Photography
Flash isn't just for shooting in complete darkness. It can enhance your photos in plenty of situations—like filling in shadows on a sunny day, balancing exposure in tricky lighting, or even adding creative effects.But before we dive into the details, let’s debunk a common myth: Flash doesn’t have to make your photos look artificial! If used right, it can create natural-looking images that are well-lit and visually stunning. 
Types of Camera Flash
Not all flashes are created equal. Understanding the different types will help you choose the best option for your photography needs.1. Built-in Flash (Pop-up Flash)
Most digital cameras come with an internal flash, which pops up automatically or manually when needed. While convenient, it often creates harsh lighting and red-eye effects because the light source is close to the lens.2. External Flash (Speedlight)
External flashes mount onto your camera’s hot shoe and offer more control over light direction and intensity. They’re ideal for more professional-looking shots.3. Off-Camera Flash
For even more flexibility, off-camera flashes can be triggered remotely. This method allows you to create dramatic lighting effects and eliminates flat, direct flash lighting.4. Ring Flash
Ever wonder how photographers capture those stunning close-up shots with perfectly even lighting? That’s the magic of a ring flash. It surrounds your lens and is great for macro photography and portraits.5. Studio Strobe Lights
For serious photography, studio strobes provide powerful, adjustable lighting. These are commonly used in professional portrait and product photography.
How to Use Flash Effectively
Using your flash correctly can take your photography to the next level. Let’s go over some essential techniques to help you get the best results.1. Bounce the Flash for Softer Light
One of the biggest issues with direct flash is how harsh it can look. Instead of pointing the flash directly at your subject, try bouncing it off a ceiling or wall. This spreads the light more evenly and softens shadows.> Pro Tip: If your flash doesn’t swivel, you can use a small white card or a dedicated flash diffuser to redirect the light.
2. Use Flash as Fill Light
Even in daylight, flash can be a game-changer! When shooting outdoors, harsh sunlight can create deep shadows on a subject’s face. By using your flash as a “fill light,” you can brighten those shadows and create a more balanced look.3. Diffusers are Your Best Friend
Ever notice how soft and flattering window light looks? A flash diffuser mimics that effect by spreading light more evenly and reducing harsh shadows. There are tons of options, from small clip-on diffusers to softboxes.4. Adjust Flash Power
Your camera doesn’t always get flash intensity right. If your subject looks washed out, lower the flash power. If it’s too dark, increase it. Most cameras and external flashes allow you to adjust flash power manually for perfect exposure.5. Avoid Red-Eye with Proper Positioning
Red-eye happens when the flash reflects directly off the retina. To avoid it:- Use an external flash or bounce the light.
- Move back from your subject and zoom in slightly.
- Enable red-eye reduction mode on your camera.
6. Try Slow Sync Flash for Natural Backgrounds
Ever taken a flash photo at night where the background turns pitch black? That’s because your camera is exposing for the flash-lit subject but not for the background. Using slow sync flash helps balance the exposure, keeping both your subject and the background visible.7. Experiment with Flash Gels for Creative Effects
If you want to get creative, flash gels (colored filters that attach to your flash) can change the mood of your photos. For example:- A warm gel makes indoor flash look more natural.
- A cool gel adds a bluish tint, great for dramatic effects.
- A colored gel can transform the entire look of your shot.
Common Flash Photography Mistakes (And How to Fix Them)
Using flash isn’t foolproof—mistakes happen! Here are some common ones and how to avoid them.1. The "Deer-in-the-Headlights" Look
Cause: Direct, unmodified flash too close to the subject.Fix: Use a diffuser, bounce the flash, or adjust flash power.
2. Washed-Out Faces
Cause: Flash is too powerful for the subject’s distance.Fix: Dial down your flash power or add a diffuser.
3. Dark Backgrounds in Night Shots
Cause: High shutter speed combined with flash.Fix: Use slow sync flash to let in more ambient light.
4. Harsh Shadows
Cause: Flash is too direct.Fix: Bounce the flash or use a softbox/diffuser.
When Should You Avoid Using Flash?
Sometimes, flash just isn’t the best tool. Here are a few situations where natural light might be the better choice:- Concerts & Live Events: Flash can be distracting and is often prohibited.
- Museums & Art Galleries: Many places ban flash to protect delicate artwork.
- Shooting Through Glass: Flash will cause unwanted reflections and glare.
If flash isn’t an option, try increasing your ISO, opening your aperture wider, or using a tripod for longer exposures.
Final Thoughts
Flash photography doesn’t have to be intimidating! With the right techniques—bouncing light, using diffusers, adjusting flash power—you can take well-lit, professional-looking photos in any setting.So grab your digital camera, experiment with these tips, and watch your photos transform from flat and lifeless to vibrant and dynamic. Happy shooting!
all images in this post were generated using AI tools
Category:
Digital CamerasAuthor:

Michael Robinson
Discussion
rate this article
1 comments
Juno Bellamy
In the dance of light and shadow, flash brings life to stillness. A gentle burst, a fleeting moment captured, transforming scenes into stories waiting to be told...
June 25, 2026 at 3:11 AM