How Image Stabilization Can Improve Your Photography
3 September 2025
Photography is an art that thrives on precision and creativity. But let’s be honest—no matter how creative you get, if your photos are blurry, no amount of editing can save them. That’s where image stabilization (IS) comes in. You’ve probably heard the term tossed around when shopping for cameras or lenses. But what exactly is it? And more importantly, how can image stabilization improve your photography?
In this article, we’ll dive deep into the world of image stabilization, breaking down what it is, how it works, and why it’s a game-changer for photographers. Whether you're a beginner or a seasoned pro, you'll find some valuable insights here. So, let’s get started!
What is Image Stabilization?
Before we get into the nitty-gritty, let’s first define what image stabilization is in simple terms.Image stabilization is a technology built into cameras and lenses that helps reduce blur caused by camera movement during a shot. It’s like having a steady hand even when your hands are jittery or when you're shooting in less-than-ideal conditions.
Imagine trying to take a picture while balancing on a tightrope. Impossible, right? Well, image stabilization is like your safety net, saving you from the blur that can result from shaky hands or quick movements.
There are two main types of image stabilization: optical image stabilization (OIS) and digital (or electronic) image stabilization (EIS). Let’s break them down so you know what’s happening behind the scenes.
Optical Image Stabilization (OIS)
OIS works mechanically. In this system, tiny gyroscopic sensors detect the movement of the camera. Then, the system adjusts either the lens elements or the camera sensor itself to counteract the movement. The result is a sharper, more stable image, even if your hand isn’t rock-steady.Think of OIS as a passenger on a bumpy bus ride who skillfully shifts their weight to maintain balance. It’s constantly adjusting, compensating for any unintentional motion.
Digital (Electronic) Image Stabilization (EIS)
EIS, on the other hand, is more of a software solution. It works by cropping the image slightly and using algorithms to correct for any shake. While it can be effective, EIS doesn’t always deliver the same level of sharpness as OIS, especially in low light. It’s like trying to fix a shaky video by zooming in and smoothing it out—helpful, but not perfect.So, now that you know what image stabilization is, let’s talk about how it can actually improve your photography.
Why Do You Need Image Stabilization?
You might be wondering, “Is image stabilization really that important?” The short answer: Absolutely. Here’s why.1. Sharper Images in Low Light
Ever tried taking a photo at dusk or indoors without a flash? It’s tough, right? With less light available, your camera needs to slow down the shutter speed to allow more light in. But longer shutter speeds mean more time for camera shake to occur, which can lead to blurry photos.This is where image stabilization shines. By compensating for any slight movements, it reduces the risk of blur, allowing you to capture crisp, clear images even in low light conditions. It’s like having a secret weapon when the lights are low.
2. Cleaner Handheld Shots
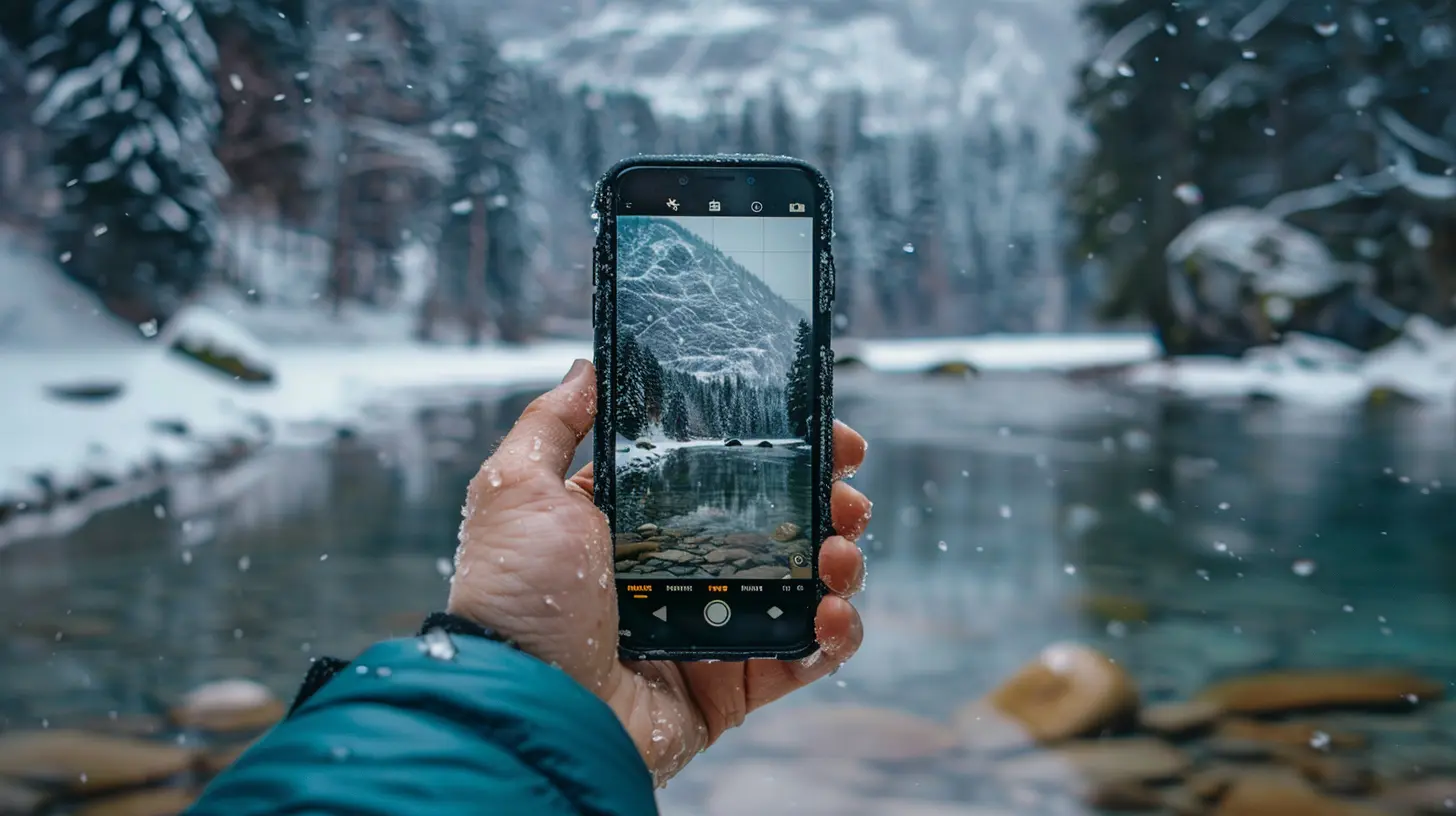
Let’s face it: Using a tripod every time you want to take a photo isn’t always practical. Sometimes you’re on the move, or perhaps the perfect shot presents itself when you least expect it. Image stabilization allows you to take sharp, handheld shots without worrying about wobbling.For instance, when you’re out hiking and spot a breathtaking view, you can simply raise your camera and snap away without stressing about camera shake. It’s like having an invisible tripod built into your camera!
3. Smoother Videos
If you’re into shooting videos, then you know how shaky footage can ruin an otherwise perfect shot. This is particularly true when filming while walking or panning the camera. Image stabilization helps smooth out those unwanted jitters, giving you more professional-looking videos without the need for extra gear like gimbals or stabilizers.Imagine filming your family at a birthday party. You want to capture the moment as it happens, but your hands aren’t as steady as you’d like. Image stabilization can save the day by making your video look as though it was shot on a dolly track.
4. Longer Focal Lengths Without the Shake
The longer your camera’s focal length (i.e., when you zoom in), the more susceptible your shot becomes to camera shake. Think of it like holding a long stick—any small movement at the base gets exaggerated at the tip.Image stabilization allows you to zoom in and still maintain a sharp image. Whether you’re photographing wildlife from a distance or capturing close-up details, IS helps ensure your zoomed-in shots are as crisp as your wide-angle ones.
5. More Flexibility in Shutter Speed and ISO Settings
Without image stabilization, you often have to crank up your shutter speed or ISO to avoid motion blur. But higher ISO settings can introduce noise (graininess), and faster shutter speeds can result in underexposed images, especially in low light.Image stabilization gives you more flexibility. You can use slower shutter speeds without introducing blur, and you won’t need to crank up the ISO as much, keeping your images cleaner and less noisy. It’s like getting a hall pass to break the rules of exposure.
How to Take Advantage of Image Stabilization
Alright, so you’re sold on the benefits of image stabilization. But how do you actually use it to improve your photography? Here are some practical tips.1. Know When to Turn It On and Off
While image stabilization is great in most situations, it’s not always necessary. For example, when you’re using a tripod, image stabilization can actually work against you by trying to compensate for movement that isn’t there.So, if you’re set up on a tripod for a long exposure or landscape shot, go ahead and turn IS off. Otherwise, keep it on when shooting handheld to ensure the sharpest results.
2. Combine IS with Good Shooting Techniques
Image stabilization is awesome, but it’s not a magical fix. You should still practice good shooting techniques, like holding your camera with both hands, keeping your elbows close to your body, and using your surroundings (like walls or tables) to steady your shot.Think of IS as a helpful assistant, but remember—you’re still the boss behind the lens!
3. Test Different Shutter Speeds
One of the coolest ways to experiment with image stabilization is to test how slow you can set your shutter speed and still get a sharp image. This is especially helpful in low light scenarios or when you want to create motion blur in the background while keeping the subject sharp.For example, if you’re photographing a cyclist, you can use a slower shutter speed to blur the background, conveying a sense of speed, while the cyclist stays sharp thanks to image stabilization.
4. Use It for Long Focal Lengths
As we mentioned earlier, long focal lengths are more prone to camera shake. So, whether you’re shooting sports, wildlife, or portraits from a distance, make sure image stabilization is turned on when you zoom in. It’s a lifesaver for those moments when you can’t physically get closer to your subject.5. Don’t Rely on It for Fast-Moving Subjects
While image stabilization is great for reducing camera shake, it won’t freeze fast-moving subjects. If you’re photographing something like a speeding car or a bird in flight, you’ll still need to use fast shutter speeds to capture them sharply.In these cases, IS helps ensure the background and any stationary objects remain sharp, while you focus on freezing the motion of your subject.

The Future of Image Stabilization
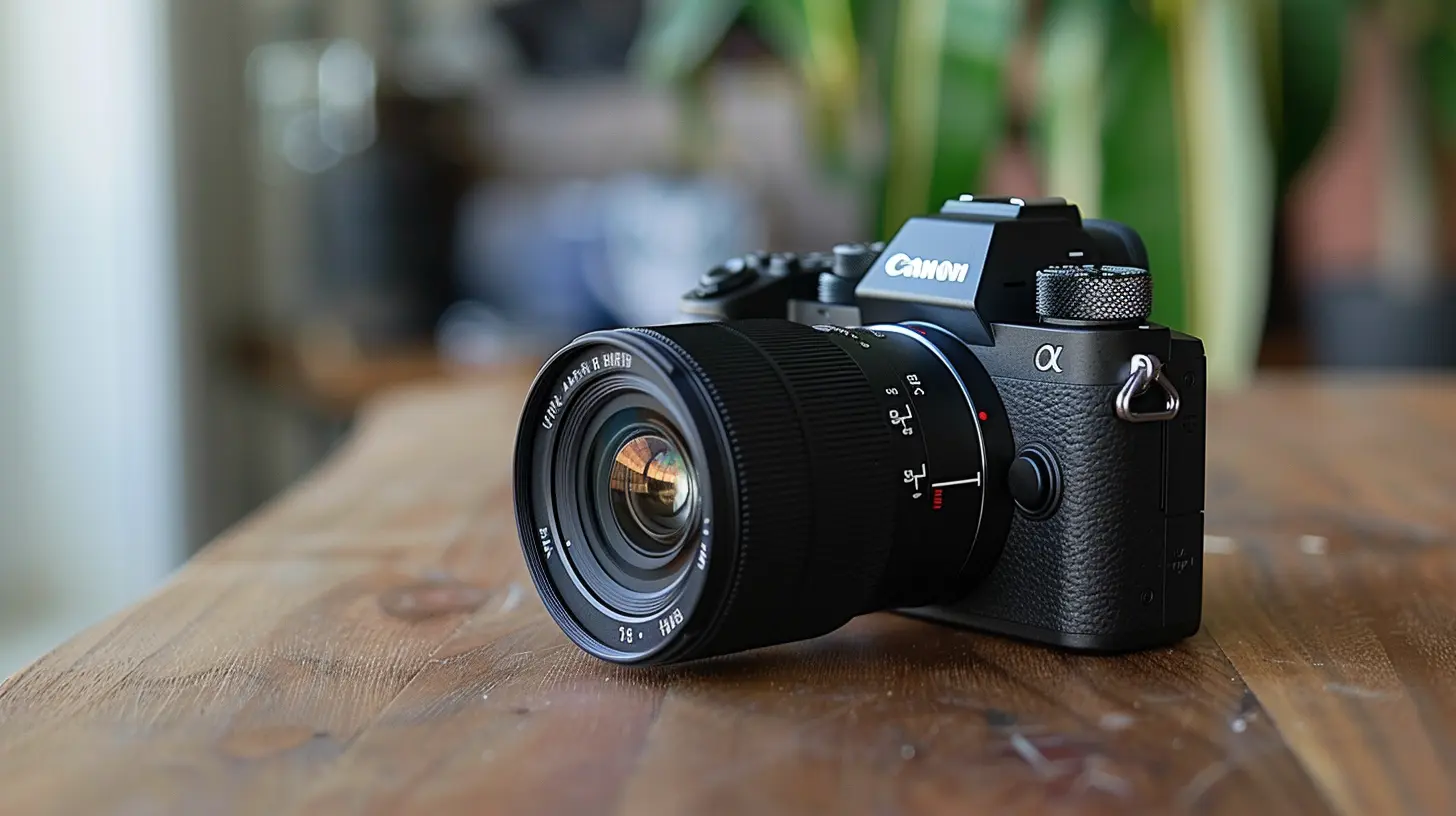
As technology continues to advance, so does image stabilization. We’re already seeing new innovations, such as in-body image stabilization (IBIS), where the camera’s sensor moves to stabilize the shot, and hybrid systems that combine both optical and digital stabilization for even greater precision.With the rise of mirrorless cameras, which often include both IBIS and OIS, photographers now have more tools than ever to capture sharp, high-quality images in a variety of conditions. Whether you’re a casual shooter or a professional, image stabilization is a feature that’s here to stay—and one that will continue to improve your photography in the years to come.
Conclusion
So, how can image stabilization improve your photography? In more ways than you might have imagined! From sharper images in low light situations to smoother videos and cleaner handheld shots, it’s a technology that gives you more creative freedom and flexibility. Whether you’re shooting with a DSLR, mirrorless camera, or even your smartphone, embracing image stabilization will help you capture clearer, sharper, and more professional-looking images.Next time you’re out with your camera, remember to take advantage of image stabilization. It could be the difference between an okay shot and a masterpiece.
all images in this post were generated using AI tools
Category:
Digital CamerasAuthor:

Michael Robinson
Discussion
rate this article
1 comments
Quinn Edwards
What a fantastic read! Understanding image stabilization is crucial for any photographer looking to enhance their craft. This article beautifully highlights the benefits and techniques that can transform your shots. Can't wait to try these tips out on my next adventure—thanks for sharing!
September 5, 2025 at 3:48 AM
Michael Robinson
Thank you for your kind words! I'm glad you found the article helpful. Happy shooting on your next adventure!