How to Capture Perfect Night Sky Photos with Your Digital Camera
1 April 2026
Have you ever just stared up at the night sky, utterly mesmerized by the stars, wondering how to bottle up that cosmic magic through your camera lens? Capturing the night sky isn’t just snapping a photo of darkness filled with glittery dots—it’s storytelling, a journey into the mysterious, a dance between light and time.
If you've tried taking night sky shots only to end up with blurry blobs or pitch-black nothingness, you're definitely not alone. It's not your camera that's failing... it's just not quite ready for the show.
Let's fix that.
In this guide, I'm going to walk you through how to capture perfect night sky photos with your digital camera—from gear to settings to composition tricks that'll make your jaw drop (and your followers double-tap). Ready to shoot the stars? Let's dive in.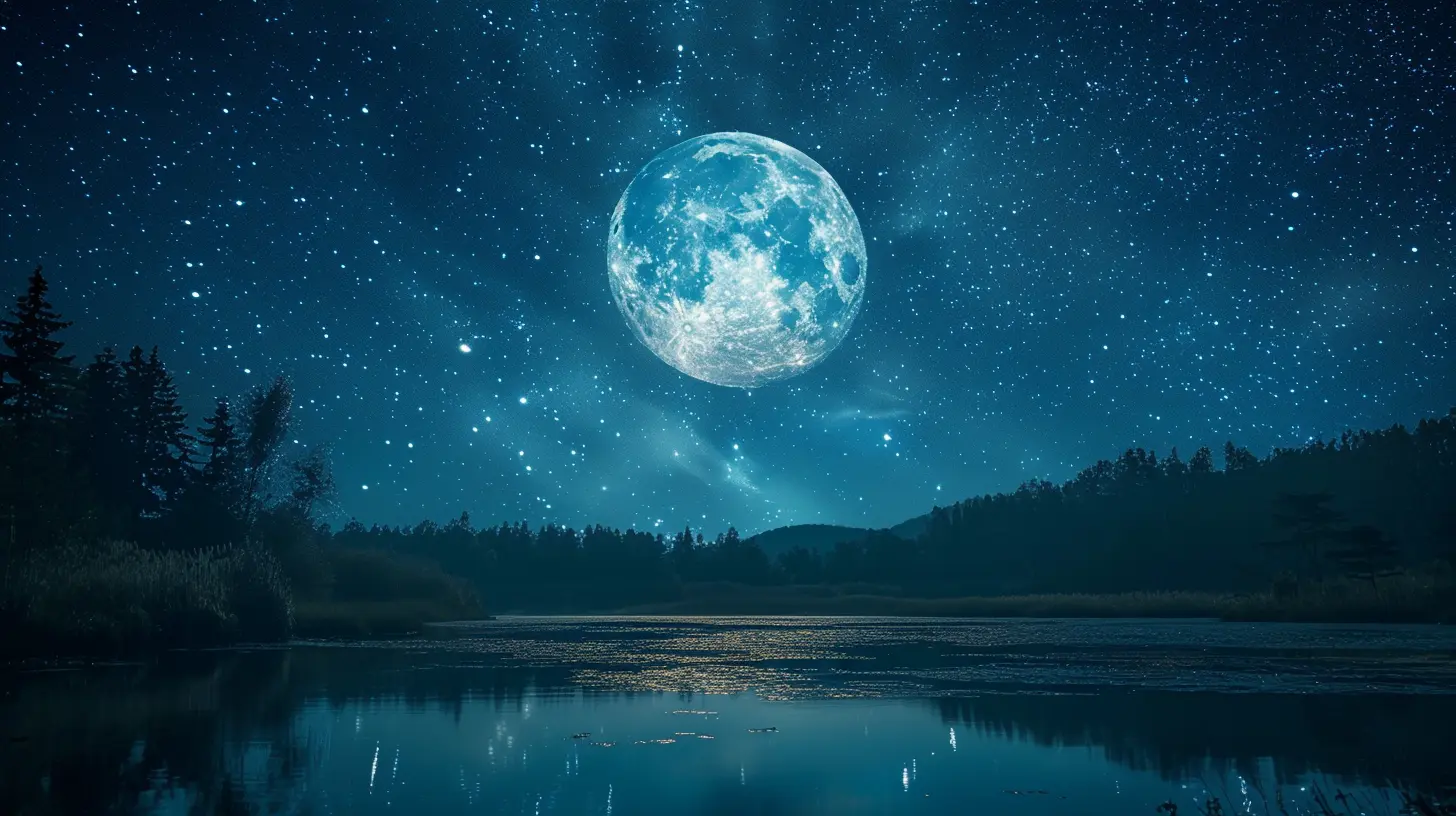
🌌 The Magic of Astrophotography: Why It’s Worth the Effort
First things first: Shooting the night sky isn’t like regular photography. It’s more like painting with light… in slow motion. You’re working with long exposures, wide apertures, and wild creativity. And the payoff? Photos that look like they're from another world.Think surreal star trails, mysterious Milky Way shots, or even the eerie dance of the Northern Lights. You don’t need a $3,000 camera to get started—just some patience, a little know-how, and a dose of curiosity.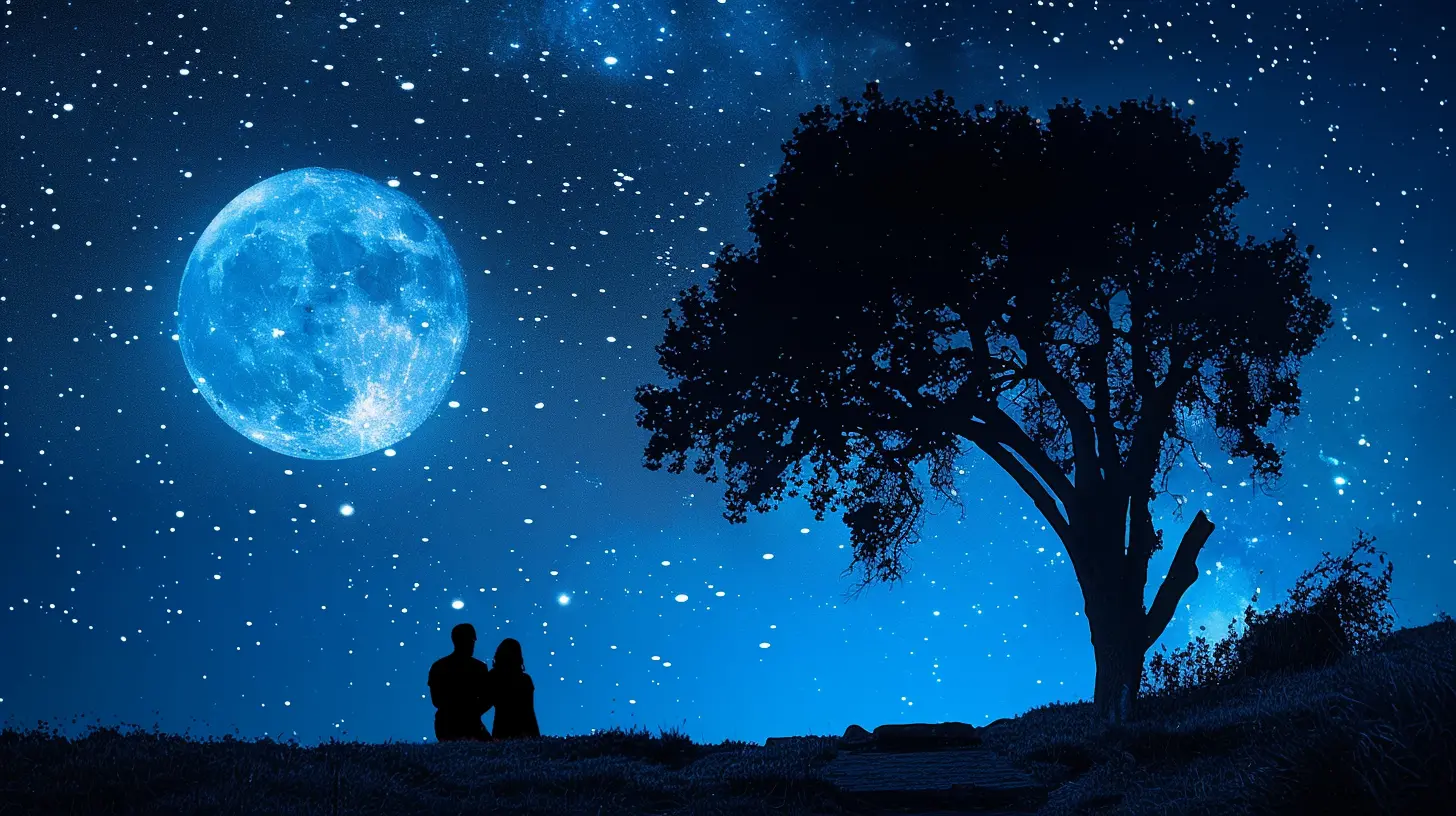
🎒 Gear Up: What You Actually Need (Spoiler: Not That Much)
Before you head out into the wilderness or your backyard, let’s make sure you’ve got the right weapons in your astrophotography arsenal.1. Camera
You don't need the fanciest DSLR or mirrorless camera on the market, but you do need one that allows for manual settings.Ideal features:
- Interchangeable lenses
- Manual control over ISO, shutter speed, and aperture
- Good low-light performance
Even entry-level DSLRs like the Canon Rebel series or mirrorless options like Sony’s Alpha line can work wonders.
2. Lens
A wide-angle lens is your best friend here. Why? Because it covers more sky and lets in more light.Look for:
- Focal length between 14mm and 24mm
- Wide aperture (f/2.8 or wider is golden)
That combo lets you catch more stars without turning your photo into a noisy mess.
3. Tripod
This is non-negotiable. Astrophotography = long exposures, and long exposures = absolute stillness. Even sneezing near your camera can cause blur. A sturdy tripod keeps things crisp.4. Remote Shutter or Timer
Touching the camera to press the shutter? Instant wobble. Use a remote shutter release or your camera’s timer feature to avoid that micro-shake sabotage.5. Extra Batteries & Memory Cards
Night photography burns through both—fast. Carry spares, or end up crying mid-shoot. Trust me.
📍 Pick the Right Location: Darkness Is Your Friend
City lights are your worst enemy when chasing stars. Even a small town’s glow can ruin your shot with light pollution. So, what’s the plan?- Use maps like Light Pollution Map (yep, it’s a real tool) to find dark-sky locations.
- Aim for spots 30-60 miles away from major urban areas.
- High altitudes are a bonus—less atmosphere, more stars.
And pro tip: Avoid shooting during a full moon—it’s basically a giant sky-floodlight.
🕒 Timing is Everything: When to Shoot
You can’t just walk out randomly and hope for star magic. Timing plays a huge role.⭐ Best time of night:
- 1 to 2 hours after sunset until 1 to 2 hours before sunrise- The sky is truly dark, and the stars are at their brightest
🌑 Best moon phase:
- New moon or a few days before/after- Less moonlight = more visible stars
🌌 Want the Milky Way?
- Visible from March to October (depending on your location)- Best viewed during midnight to 3 AM in summer months
Just think of the Milky Way as a diva—it shows up fashionably late and only when the lights are low.
📷 Camera Settings Demystified
Here’s where the magic happens. These settings aren’t strict rules, but starting points. Feel free to tweak them to match your style and environment.1. Manual Mode (M) Is Your Best Friend
Throw that auto-mode out the window. You’re the boss now.2. Aperture: Wide Open
Set it as low as your lens allows (f/2.8 is ideal). This lets in the most light. The lower the f-number, the better.3. Shutter Speed: Keep It Steady
Too fast, and your stars are dim. Too long, and they start to trail due to Earth’s rotation.A solid formula? The 500 Rule:
> 500 ÷ focal length = max shutter speed in seconds
Example: If you're shooting with a 20mm lens on a full-frame camera, try 500 ÷ 20 = 25 seconds.
Using a crop sensor? Adjust accordingly (multiply your lens by 1.5 or 1.6 first).
4. ISO: Don’t Fear the Noise
Start at ISO 1600 or 3200 and experiment. Yes, it introduces grain—but hey, some grain is better than a black photo void.5. Focus: Manual, Baby
Switch to manual focus. Autofocus won’t work in the dark.How to focus:
- Set your lens to infinity.
- Use Live View.
- Zoom in (digitally) on a bright star and tweak focus until it’s razor sharp.
✨ Composing Your Shot: Make It Epic
Now that you’ve nailed your settings, let’s talk art.1. Foreground Interest
Don’t just fill the frame with sky. Add a tree, a silhouette, a mountain, or an old barn to give context and depth.Stars are amazing—but when you combine them with earthly elements, your image tells a story.
2. Rule of Thirds
Use gridlines. Place the horizon on the bottom third and let that cosmic sky dominate.3. Leading Lines
Use rivers, roads, fences, or even light beams to guide the viewer’s eye into the image.It’s like whispering, “Hey... look up.”
🌠 Advanced Starry Tricks (When You’re Ready to Level Up)
Already comfortable with basic star shots? Let’s get spicy.1. Star Trails
Instead of freezing the stars, let them move. Set your shutter for 20–30 minutes or stack multiple 30-second exposures using software like StarStaX.The result? Swirling star vortexes that look downright otherworldly.
2. Milky Way Magic
Plan for Milky Way season. Use apps like PhotoPills to predict when and where it’ll be visible. Focus on minimal light pollution and let that galactic core shine.3. Light Painting
Want to illuminate a tree or building in your night shot? Use a flashlight or headlamp to "paint" it during a long exposure.Just a few seconds of light adds a dramatic punch.
🛠️ Post-Processing: Where Raw Becomes Radiant
Let’s be honest. No matter how good your shot is, editing takes it from cool to “holy crap.”1. Shoot in RAW
JPEGs are like pancakes without syrup—RAW gives you way more data to play with.2. Software to Use
- Adobe Lightroom- Photoshop
- Affinity Photo (budget-friendly option)
3. What to Adjust:
- Exposure: Brighten the stars, not the noise- Contrast & Clarity: Pull out those Milky Way details
- Noise reduction: Don’t overdo it, or your stars disappear
- White balance: Aim for natural. Often, night photos look too cool (blue-tinted)
Editing is like seasoning—add just enough to bring out the flavor without overpowering the dish.
🧠 Common Mistakes (and How to Fix Them)
Let’s rapid-fire some common blunders:- Photos too dark? Bump the ISO or lengthen the shutter (but beware of star trails).
- Stars look like smears? Shutter was too long—calculate using the 500 Rule.
- Nothing’s in focus? Check that manual focus again; use Live View and zoom for precision.
- Too much noise? Try lowering ISO or stacking images in post.
Remember, practice doesn’t just make perfect—it makes magical.
📸 Practice Makes Stellar
Truth is, your first night shoot might not be perfect. Or your second. But here’s the thing: Every session teaches you something. About your camera. About the stars. About how you see the world.Keep shooting.
Each click is one step closer to capturing a piece of the universe.
And when you finally get that perfect shot? The one that makes people gasp?
You’ll know it was worth every mosquito bite, battery swap, and shiver in the cold night air.
Final Thoughts: The Stars Are Waiting
The night sky has been inspiring humanity for millennia. Poets write about it, scientists study it, dreamers wish upon it. Now it’s your turn to photograph it.So pack up your camera, chase the darkness, and give the galaxy your best shot.
Because once you start capturing the stars, you’ll never see the night the same way again.
all images in this post were generated using AI tools
Category:
Digital CamerasAuthor:

Michael Robinson
Discussion
rate this article
2 comments
Bria McDowell
Great insights! Your tips on capturing the night sky are both practical and inspiring. With a little patience and creativity, anyone can create stunning celestial images. Keep sharing your expertise!
April 12, 2026 at 2:41 AM
Michael Robinson
Thanks for the kind words! I'm glad you found the tips helpful. Happy shooting under the stars!
Edith Castillo
This article offers excellent tips for capturing stunning night sky photography. From choosing the right settings to utilizing the ideal equipment, it’s a comprehensive guide that both beginners and experienced photographers will find invaluable. Great resource!
April 3, 2026 at 3:06 AM
Michael Robinson
Thank you for your kind words! I'm glad you found the tips helpful for both beginners and experienced photographers. Happy shooting!