How to Capture the Perfect Silhouette with Your Digital Camera
1 March 2026
Capturing a silhouette can add a dramatic, mysterious flair to your photography game. You know that feeling when you see a stunning black figure against a vibrant sunset or a bright city skyline? That’s the magic of silhouettes! The subject is darkened, yet the backdrop is bathed in light, creating this mesmerizing contrast. It’s almost like telling a story without giving away too many details—kind of like a cliffhanger but in visual form.
The good news? You don’t need a fancy camera or years of experience to nail this type of shot. With a bit of know-how, your digital camera (even a smartphone camera with manual controls) can produce silhouette shots worthy of a gallery wall. Let’s dive in and explore how to capture the perfect silhouette with your digital camera.

What is a Silhouette?
Before we start pressing buttons on your camera, let’s clear up what we’re actually aiming for.A silhouette is when your subject appears completely dark, with no visible detail, against a bright, well-lit background. Think of it like a shadow, but instead of being cast on the ground, it’s set against a glowing backdrop (like a sunset, for example). The subject itself becomes an outline, while the background steals the show with its brightness and colors.
Now, let’s break down how you can achieve this effect with your digital camera.
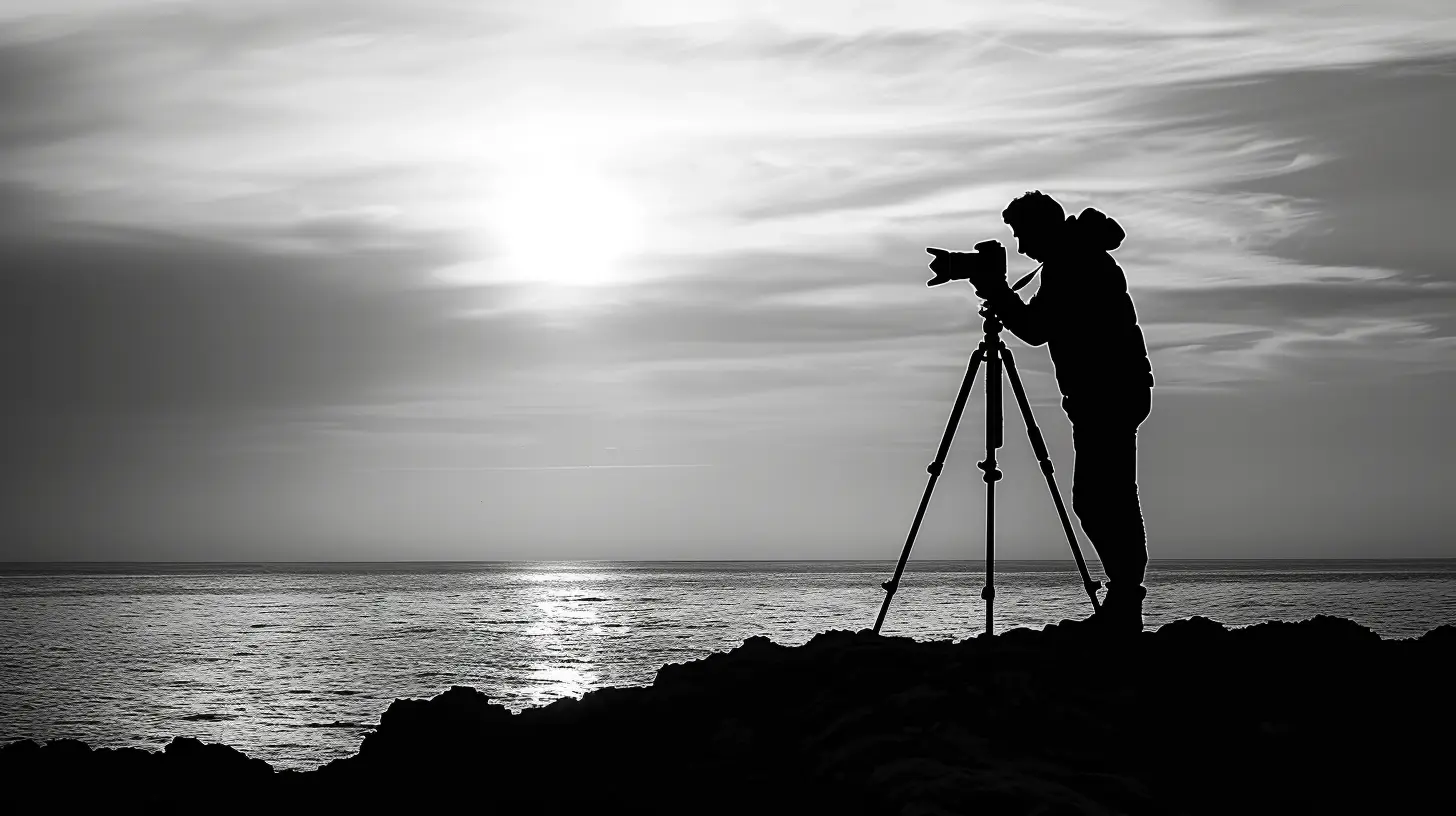
Step 1: Choose the Right Time and Place
The first step to capturing the perfect silhouette is all about timing and location. You can’t just point your camera anywhere and expect a silhouette to appear magically. You need light, and more specifically, backlighting.Golden Hour is Your Best Friend
If you’ve heard photographers gush about the “golden hour,” there’s a reason for it. The hour just after sunrise and the hour before sunset offer the best natural lighting for photography in general, but they're ideal for silhouettes. The sun is low, creating soft, warm light that’s perfect for backlighting your subject. The sky is often more colorful, with hues of orange, pink, and purple—making it the perfect backdrop for your silhouette.Location, Location, Location!
You’ll want to find a location where the background is brighter than your subject. Think beaches, parks with open skies, or cityscapes at dawn or dusk. The key is to have a clean horizon with minimal distractions behind your subject. Too much clutter in the background can make the silhouette less impactful.Pro tip: Scout your location ahead of time! You don’t want to lose precious golden hour minutes searching for the perfect spot.
Step 2: Set Up Your Camera for Success
You don’t need a high-end DSLR for silhouette photography, but you do need to make sure your camera is set up correctly to achieve that dark subject/light background contrast.Use Manual Mode (Or At Least Exposure Compensation)
In silhouette photography, the trick is to expose for the brightest part of the image (the background), which automatically makes your subject dark. For this, it’s best to switch your camera to manual mode—this gives you full control over the exposure settings.If manual mode feels a bit overwhelming, don’t worry! You can also use exposure compensation (often marked as a "+/-" symbol) on most cameras. Dial it down to underexpose your subject while keeping the background bright.
Key Settings to Consider:
- ISO: Keep it low (around 100–200) to avoid noise. Since you’re shooting in bright light, a low ISO will work just fine.- Aperture: Go for a relatively small aperture (f/8 to f/16) to ensure most of the scene is in focus. This isn’t a hard rule, though—if you’re going for a more artistic or shallow depth-of-field look, you can adjust accordingly.
- Shutter Speed: A faster shutter speed helps darken your subject. Depending on the lighting conditions and how much movement is in the scene, you might need to tweak this a bit.
Focus on the Subject
Set your focus on the subject, not the background. You want your silhouette to be sharp and crisp, not blurry. If your camera has spot metering, use that to meter off the brightest part of the background (like the sky), and let the subject fall into darkness.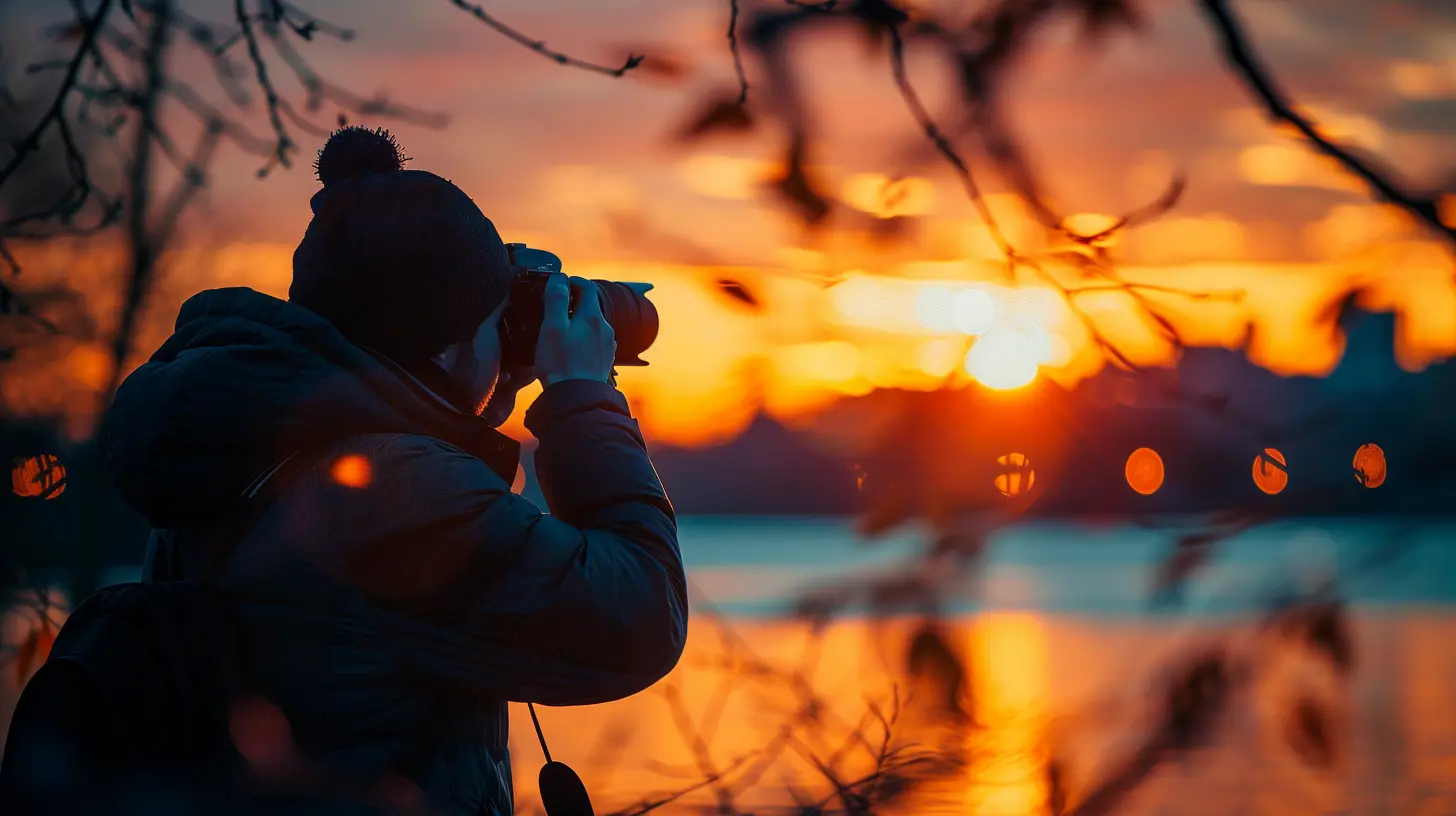
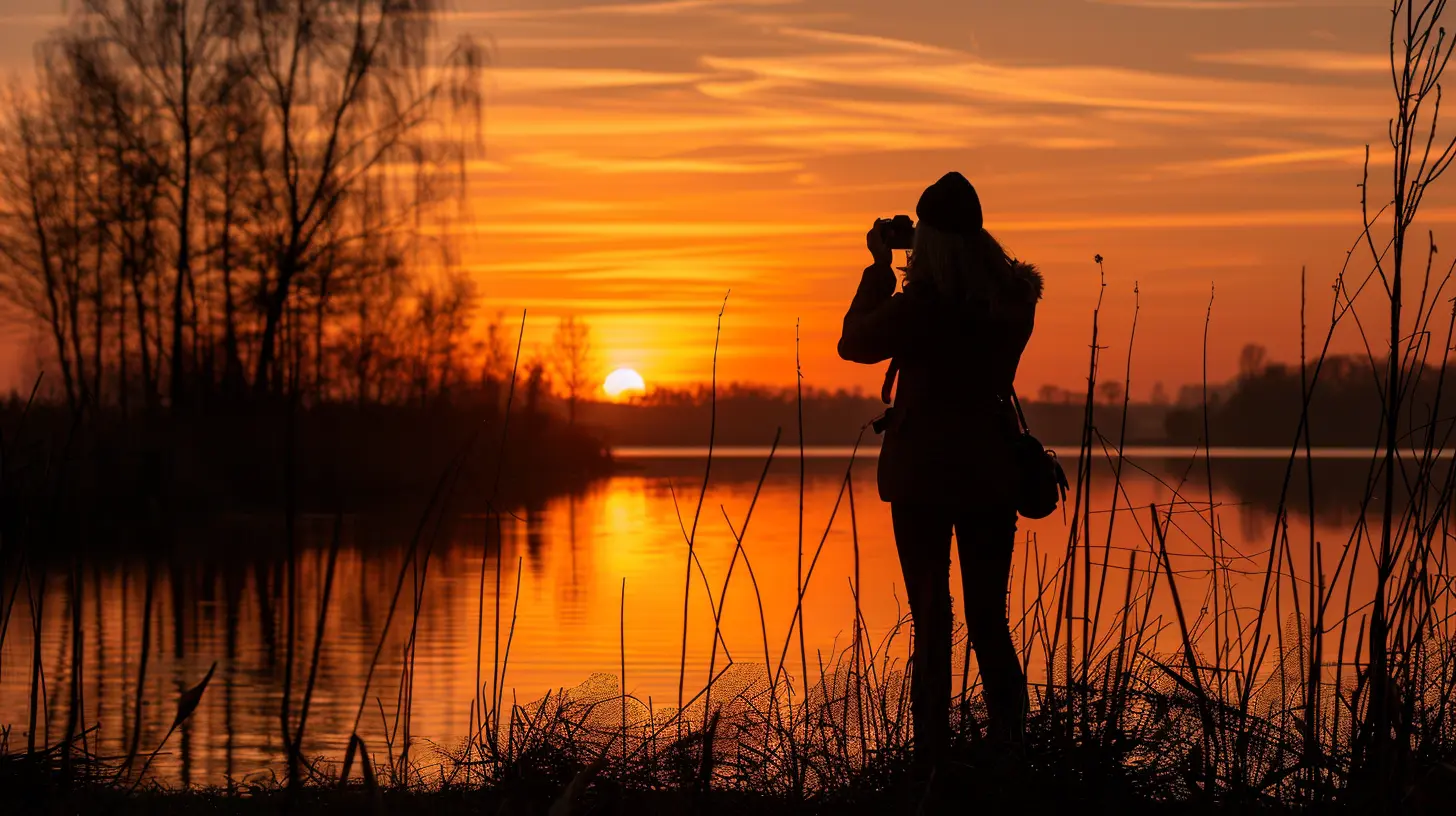
Step 3: Position Your Subject
Here’s where the fun begins! Positioning your subject is crucial to a good silhouette shot. Since all the details of the subject will be lost, you’re relying entirely on their shape to convey meaning.Create a Strong Outline
Make sure your subject’s outline is distinct. If you’re photographing a person, have them stand sideways or use poses that create interesting shapes. Simple, recognizable shapes (like a person holding hands, a tree, or the profile of an animal) tend to work best for silhouettes.Pro tip: Avoid clutter within the silhouette itself. For instance, if a person’s arms are pressed too tightly against their body, it can make the silhouette look like one solid blob. Have them spread their arms or legs slightly to create separation and definition.
Get Creative with Props
Want to add some storytelling to your silhouette? Let your subject hold a prop! Whether it’s a bicycle, an umbrella, or even a kite, objects can add an extra layer of intrigue to your silhouette. Just make sure the prop is clearly visible and doesn’t blend into the background.Step 4: Play with Angles and Composition
One of the coolest things about silhouette photography is that it pushes you to think outside the box when it comes to composition. Since you’re working mostly with shapes and outlines, you’ll want to get creative with how you frame your shot.Experiment with Low Angles
Try shooting from a low angle, pointing your camera upward toward your subject. This can make the silhouette appear more dramatic and larger-than-life. Plus, it makes it easier to get the sky (or whatever bright backdrop you’re using) into the frame.Rule of Thirds Still Applies
Just because you’re shooting a silhouette doesn’t mean you should toss out the basics of composition. The rule of thirds is still your friend! Position your subject off-center for a more dynamic and engaging composition.Symmetry and Leading Lines
If you're near a body of water, reflections can add an extra dimension to your silhouette shot. Symmetry, whether in reflections or through natural elements like trees or bridges, can make the image even more powerful.
Step 5: Fine-Tune in Post-Processing
Even if you get everything right in-camera, a little post-processing can elevate your silhouette shot from good to great.Boost the Contrast
In most cases, you’ll want to increase the contrast to make the silhouette pop against the background. You can also adjust the shadows to ensure the subject remains completely black.Enhance the Colors
If your background is a sunset or sunrise, you might want to enhance the colors to make them more vibrant. Remember, the background is a major player in a silhouette shot, so don’t be afraid to give it a little extra punch.Crop and Straighten
Finally, make sure your horizon is straight, and crop out any distractions in the scene. A clean silhouette photo is all about simplicity, so less is more.Common Mistakes to Avoid
Even though silhouette photography is relatively simple, there are a few common mistakes that can trip you up. Here’s what to watch out for:- Underexposing the Background: If your background isn’t bright enough, the silhouette won’t stand out. Always expose for the background, not the subject.
- Cluttered Backgrounds: Too many objects in the background can distract from the silhouette. Keep it simple!
- Not Enough Contrast: If your subject isn’t dark enough or your background isn’t light enough, the silhouette effect won’t be as strong.
Conclusion
Capturing the perfect silhouette with your digital camera is easier than it might seem. With the right lighting, camera settings, and a bit of creativity, you can create stunning, dramatic photos that tell a story with just a few simple elements. The key is to embrace the light, focus on strong outlines, and let the background do the heavy lifting.So, grab your camera, find your favorite sunset spot, and start experimenting with silhouettes! You’ll be amazed at how quickly you can master this technique.
all images in this post were generated using AI tools
Category:
Digital CamerasAuthor:

Michael Robinson
Discussion
rate this article
2 comments
Elizabeth Hardy
This article beautifully captures the essence of silhouette photography. Your tips are practical and inspiring, encouraging us to explore our creativity. I can’t wait to try these techniques—thank you for sharing!
March 29, 2026 at 12:31 PM
Michael Robinson
Thank you for your kind words! I'm thrilled you found the tips inspiring. Enjoy experimenting with silhouette photography!
Veda Hughes
Great tips for stunning silhouette photography—thanks!
March 2, 2026 at 12:17 PM
Michael Robinson
Thank you! I'm glad you found the tips helpful!