How to Create Stunning Panoramas with Your Digital Camera
8 February 2026
Ever stood on top of a mountain or by the ocean and wished you could capture the entire breathtaking view, not just a slice of it? We’ve all been there — snapping a dozen photos trying to stitch together the beauty in front of us. That’s where panoramas come in. Creating panoramic photos with your digital camera isn't just possible — it's fun, rewarding, and totally worth learning.
In this guide, I’ll walk you through the practical steps of crafting jaw-dropping panoramas using your digital camera. No technical jargon overload, no need for fancy gear — just your camera, a bit of patience, and a big dose of creativity.
Let’s dive in, shall we?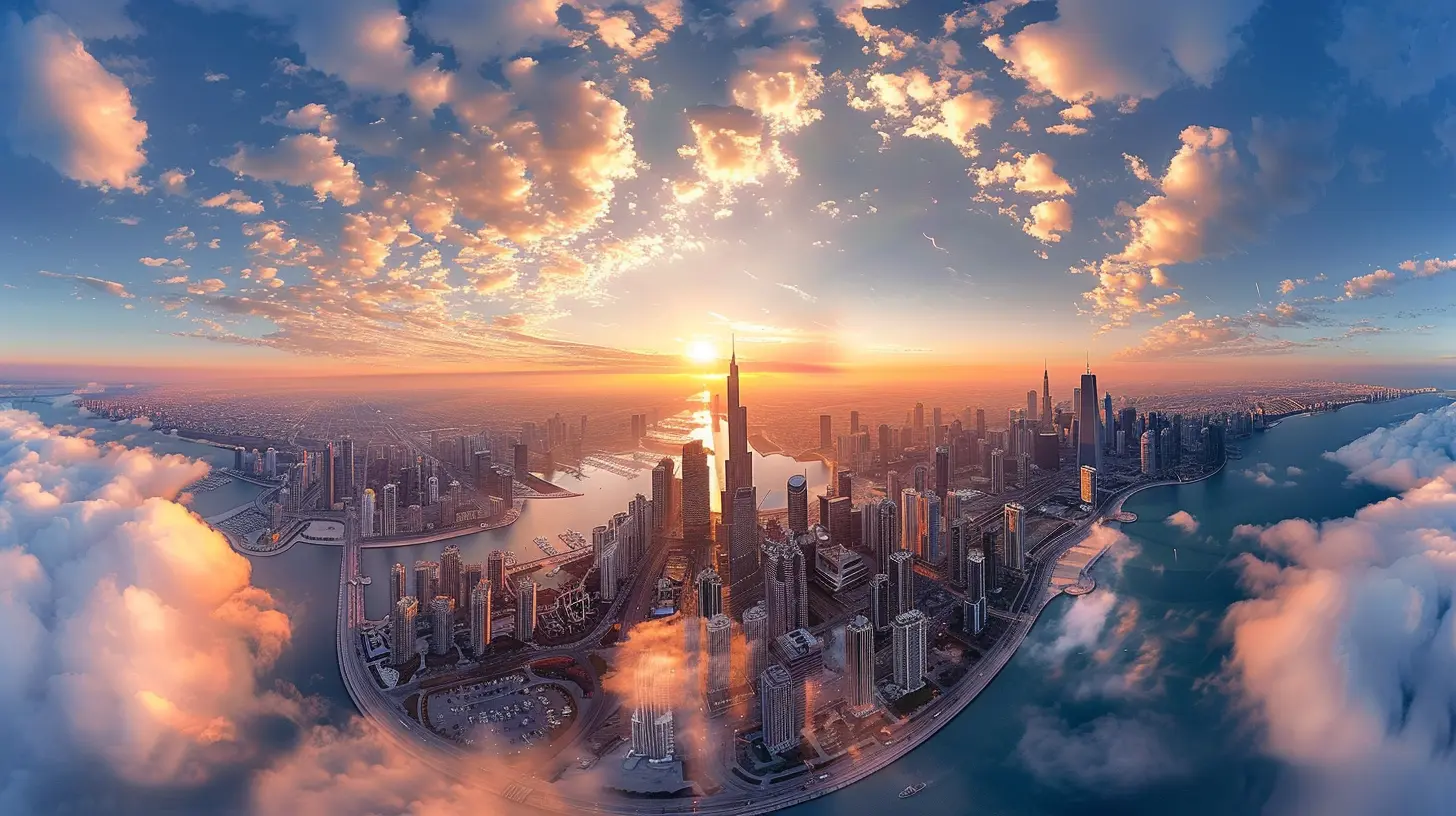
What Is a Panorama, Really?
A panorama (or pano, if you’re feeling casual) is a wide, horizontal photograph that captures a much broader view than a standard shot. Think of it as the cinematic version of photography. Instead of trying to cram everything into one tiny frame, panoramas expand the visual story, showing everything from side to side — almost like you're standing right there again.You’re probably already familiar with panoramas from your phone’s camera feature. But using a digital camera gives you more control and higher quality. And with a bit of practice, you’ll be creating images that practically scream, “Hang me on a wall!”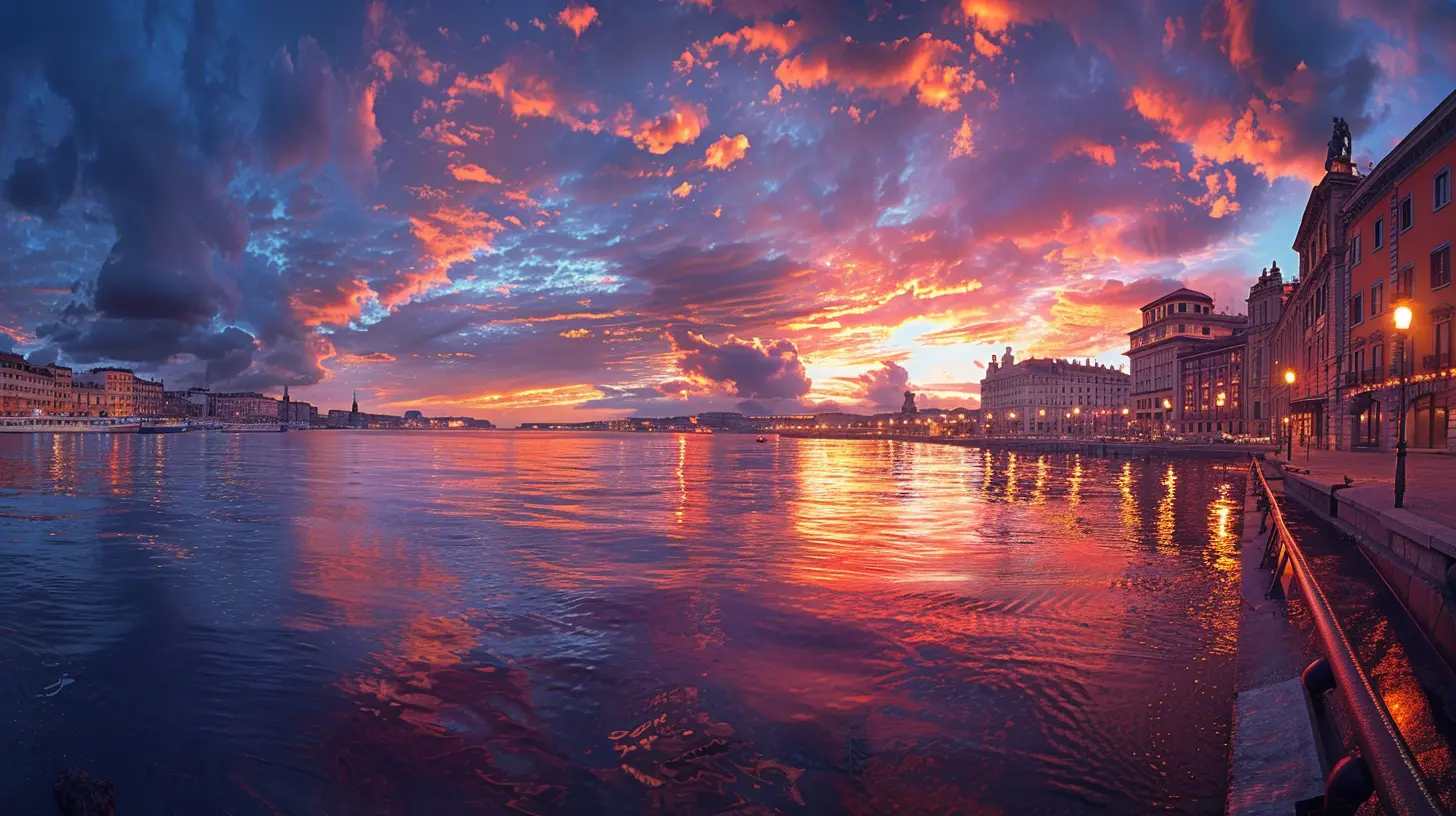
Why Bother with Panoramas?
Still wondering if it’s worth the effort? Let me toss a few irresistible reasons your way:- They’re immersive – Panos draw people into the scene, making them feel like they’re standing right where you stood.
- They showcase scale – Perfect for landscapes, cityscapes, and even interiors where you want to show width and depth.
- They tell stories – A panoramic image can convey the vibe of a place way better than a regular shot.
- They’re just plain awesome – Seriously… one look, and people go, “Whoa. Did you take that?”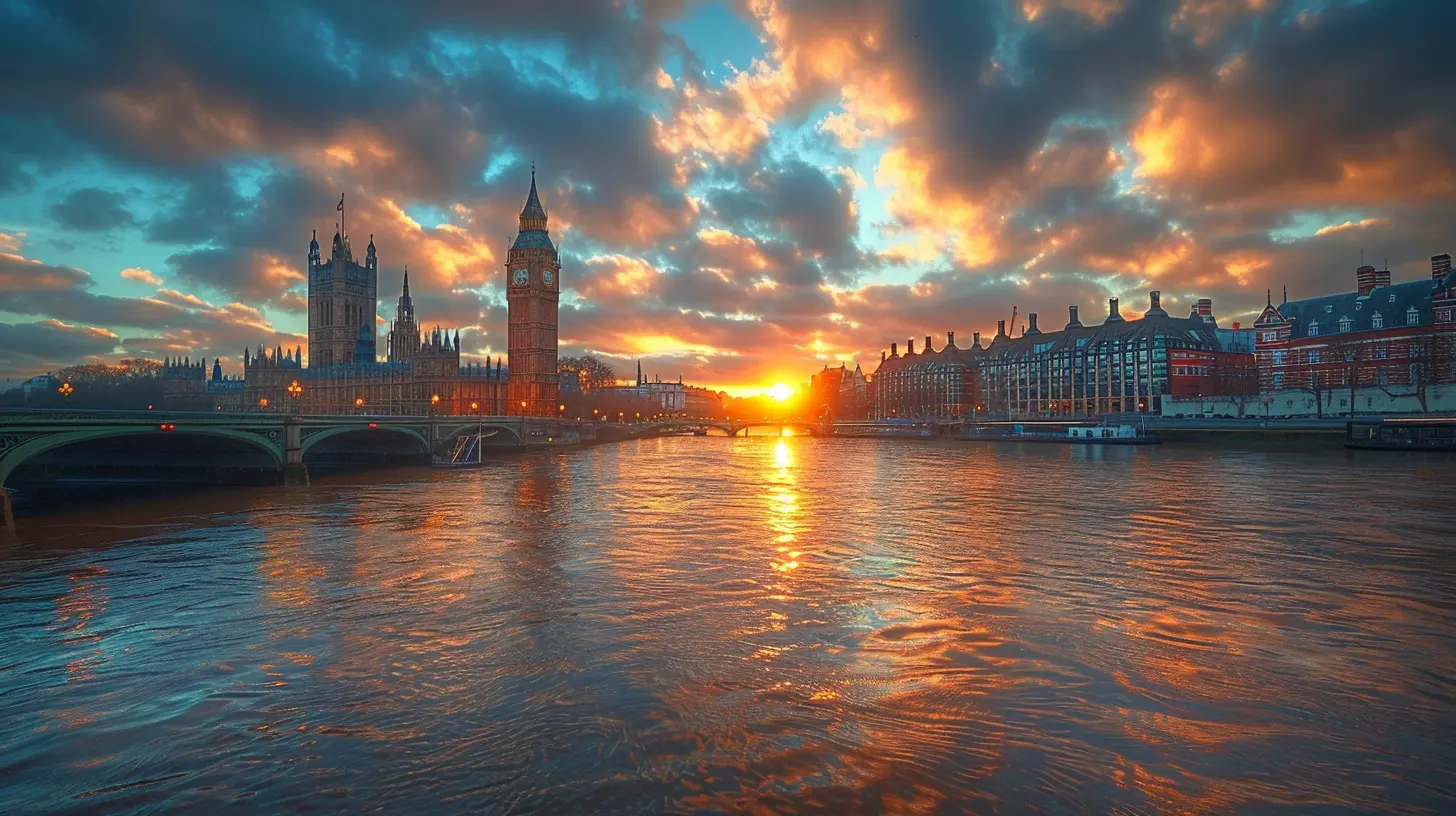
Getting the Basics Right: Gear You Need
You don’t need a truckload of gear to get started — just a few essentials.1. Your Trusty Digital Camera
Almost any digital camera will do — DSLR, mirrorless, or even a point-and-shoot. The key is manual settings. You don't want your camera adjusting exposures in between shots.2. Tripod (Optional but Highly Recommended)
Why? Because stability is everything. A tripod ensures consistent alignment and reduces the chance of errors when stitching your images later.3. Panorama or Stitching Software
Once you’ve taken your panorama shots, you'll use software to stitch them into one beautiful image. Here are some popular options:- Adobe Lightroom (with panorama merge)
- Photoshop
- PTGui
- Hugin (free and powerful)
- Microsoft ICE (yes, it's still around!)
Prepping for the Shot: Planning Is Everything
Know Your Environment
Before you start firing away, take a moment to survey the scene. Are there moving objects like people or cars? Is the lighting consistent across the view? Think ahead — movement and inconsistent lighting can mess up your final pano.Time of Day Matters
Golden hours — that magical window shortly after sunrise or before sunset — are your best friends. They give you soft light, rich color, and longer shadows, helping your panorama pop.Clean Your Lens
Sounds simple, but it’s super easy to forget. You don’t want dust or smudges smearing across multiple images and ruining your shot.Step-by-Step: Capturing a Breathtaking Panorama
Alright, let’s get to the fun part — actually taking the shots.Step 1: Switch to Manual Mode
Keep your exposure settings locked in. That means manual focus, aperture, shutter speed, and ISO. You want every frame to have the same exposure, or else stitching will get messy.Step 2: Set Your White Balance
Don’t leave it on Auto — it might change between shots. Pick a white balance that suits the scene (daylight, cloudy, etc.) and stick with it.Step 3: Find a Reference Point
Start on the left or right of your scene. Look for a visual anchor — a tree, building, mountain peak, whatever — to help you overlap your shots later.Step 4: Take Overlapping Photos
This is the golden rule of panorama shooting — 30% overlap between each frame. That overlap gives stitching software enough information to blend them smoothly.Step 5: Stay Level
Keep your camera level horizontally. If you're holding it by hand, try to keep your elbows tucked in. If you're using a tripod — awesome, even better!Step 6: Pan Smoothly Across the Scene
Take a deep breath, hold steady, and move in a straight horizontal arc. Don't tilt up or down unless you're making a vertical pano (yes, those are a thing!).Bonus Tips to Elevate Your Panorama Game
Let’s level up with some pro tips that’ll make your panoramas truly shine.Use a Nodal Rail (Advanced)
If you’re serious about minimizing distortion and parallax errors, a nodal rail on your tripod is a game-changer. It allows the camera to pivot around the lens’s no-parallax point.Vertical vs. Horizontal Orientation
Try shooting your panorama in vertical (portrait) orientation. It gives you more height and resolution in the final image — especially useful for printing large.Mind the Edges
Watch out for people or objects moving into the frame as you shoot. These can ghost in the final photo if you’re not careful.Stitching It All Together: The Digital Magic
Once you’ve got your set of images, it’s time to bring them together.Import Your Images
Fire up your software of choice and import the images.Align and Merge
Almost all pano tools have an automatic alignment feature. Most of the time, it works like a charm. But sometimes, tweak it manually if things look off.Crop and Clean
After stitching, you’ll likely see some jagged edges around the borders. Crop your final image for a clean finish.Post-Processing
Adjust the colors, contrast, and sharpness like you would with any photo. A little editing can bring your panorama to life.What Can You Shoot as a Panorama?
Panoramas aren’t just for landscapes (though they’re awesome for that). Here are some fun ideas:- City skylines – Add drama to urban shots.
- Interiors – Especially helpful for real estate or architecture.
- Event venues – Capture the full vibe of festivals, weddings, or concerts.
- Night skies – Milky Way panoramas? Yes, please!
Common Mistakes to Avoid
Hey, we've all been there. It’s part of the process. But let’s try to dodge these common pitfalls:- Not locking settings in manual mode.
- Forgetting to overlap images.
- Shooting too fast — leading to mismatched lighting.
- Crooked panning or uneven hand movement.
- Moving subjects causing ghosting.
Wrapping It Up: The World is Wide, Go Capture It
Creating stunning panoramas with your digital camera is like telling nature’s biggest stories in one massive, jaw-dropping frame. The best part? You don’t need to be a professional photographer to do it.Start simple. Play with different scenes. Learn a bit from each attempt.
Remember, photography is as much about patience and practice as it is about gear and technique. Every time you go out shooting, you're not just capturing images — you're growing your creative muscle.
So next time you’re staring at a vast horizon, don’t just settle for a standard photo. Whip out your camera, take a deep breath, and start creating something epic.
Who knows — your next panorama might just be wall-worthy.
all images in this post were generated using AI tools
Category:
Digital CamerasAuthor:

Michael Robinson
Discussion
rate this article
2 comments
Yolanda Wolf
Mastering panoramas is like a dance—each shot a step! With these tips, turn your camera into a canvas and capture breathtaking landscapes effortlessly.
March 3, 2026 at 11:47 AM
Michael Robinson
Thank you! I love the dance analogy—it's all about rhythm and practice to create stunning panoramas!
Gabriella Carter
Creating stunning panoramas? Easy! Just remember: if your first attempt looks like a warped funhouse mirror, you might need to recalibrate your camera... or invest in some serious windbreaker gear!
February 12, 2026 at 1:54 PM
Michael Robinson
Great advice! The right calibration and gear can make all the difference in capturing those breathtaking views. Thanks for sharing!