How to Edit Digital Camera Photos Like a Professional
19 July 2025
So, you’ve taken some killer shots with your digital camera—but when you look at them on your computer, something’s missing. Maybe the lighting’s just a little off, or the colors aren’t popping the way you want. Don’t worry, you’re not alone. Even professional photographers don’t post photos straight out of the camera. There’s a secret sauce called photo editing, and trust me, once you get the hang of it, your photos will go from “meh” to “wow” in no time.
In this guide, we’re diving deep into how to edit digital camera photos like a professional—from choosing the right software to mastering the essential tools and techniques. And don’t worry, you won’t need a degree in graphic design. If you can drag and click, you’re already halfway there.
Let’s roll up our sleeves and turn those so-so shots into stunning masterpieces!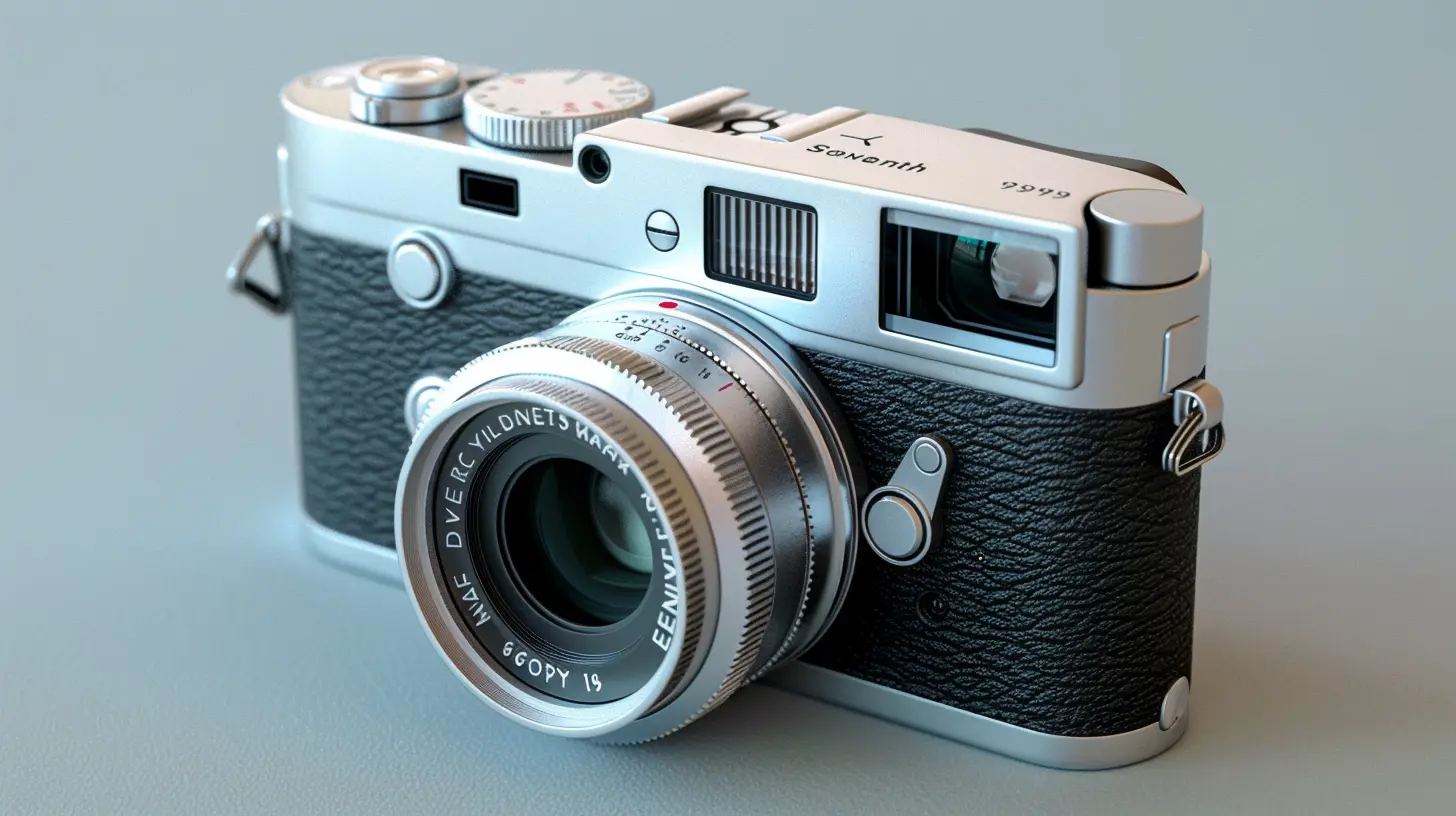
📸 Why Editing Matters More Than You Think
Here’s the thing—your digital camera is smart, but it’s not that smart. It captures data, yes, but it doesn’t know how to interpret the feeling you wanted to express. That’s your job. Editing bridges the gap between what the camera sees and what you envision. It's like seasoning a dish—you start with good ingredients (your photo), but editing adds the flavor.Professional photographers use editing not to “fake it,” but to reveal the beauty that the camera simply couldn’t catch on its own. Think of it as enhancing reality, not distorting it.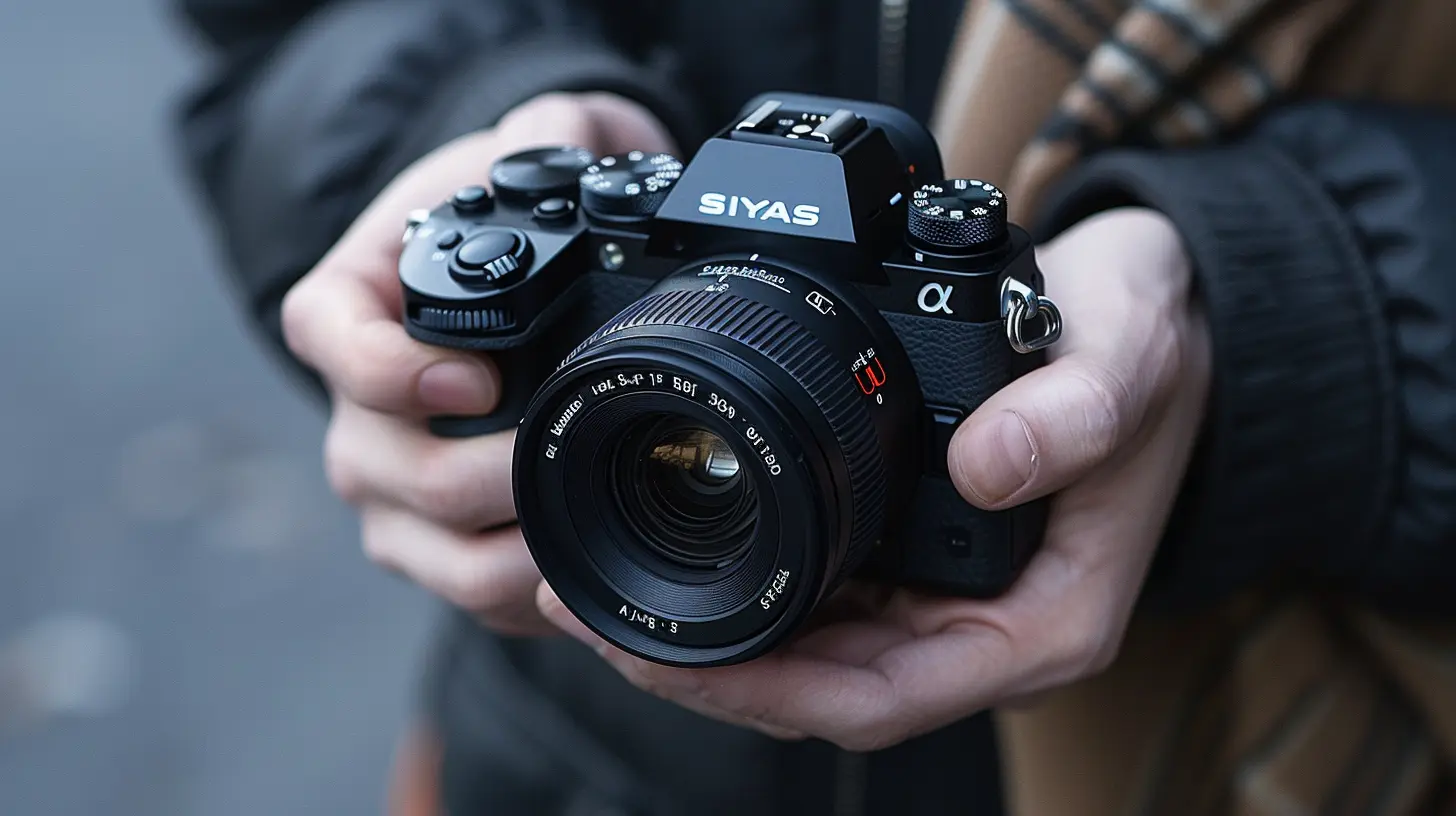
🛠️ The Tools of the Trade: Choosing Your Editing Software
Alright, before we unleash our inner artist, you need the right tools. Here are the best software options for different skill levels and budgets:1. Adobe Lightroom (Best Overall)
If you’re serious about photo editing, Lightroom is your new best friend. It's intuitive, powerful, and designed specifically for photographers.- Great for batch editing
- Non-destructive (your original photo stays untouched)
- Tons of presets and sliders for easy adjustments
2. Adobe Photoshop (For Advanced Users)
Need pixel-level editing or want to manipulate your images big-time? Photoshop is king, but it comes with a steeper learning curve.- Excellent for retouching, composites, and fine-tuning
- Ideal for portraits and creative effects
3. Capture One (High-End Professional Choice)
Capture One is known for its color grading and tethering features. It’s a favorite among studio photographers and commercial shooters.4. Free Options (For Beginners)
- GIMP: Open-source alternative to Photoshop- Darktable: Free Lightroom-like software
- Snapseed (Mobile): Great for editing on the go
The best editor? The one you’ll actually use. Choose what fits your style and budget.
🧪 RAW vs. JPEG: Starting With the Right File Type
If you’ve only been shooting JPEGs, it’s time to graduate to RAW. Why? Because RAW files contain way more data, which gives you much more flexibility in editing.Picture this: editing a JPEG is like tweaking a printed photo. Editing a RAW file is like adjusting the negatives—way more control.
Yes, RAW files are bigger and take up more space, but the results? Totally worth it.
🧰 Step-by-Step: How to Edit Like a Pro
Let’s get down to business. Here’s a simple, repeatable workflow you can use to make your photos look polished and professional every time.1. Import and Organize
Start by importing your photos into your editing software. If you're using Lightroom, you can create collections and add keywords to keep everything neat.Tip: Culling (selecting only the best shots) helps you stay focused. Don’t try to edit 200 photos at once!
2. Crop and Straighten
Before diving into exposure and color, fix your composition. Straighten any tilted horizons and crop out distractions.A simple crop can totally change the impact of a photo. Think about the rule of thirds and make sure the subject pulls the viewer in.
3. Adjust Exposure and Contrast
This is where the magic starts.- Exposure: Make your photo brighter or darker.
- Contrast: Add depth by making the darks darker and lights lighter.
Use the histogram to guide you—it’s like a cheat sheet for your photo’s brightness levels.
4. Tweak Highlights, Shadows, Whites, and Blacks
These four sliders are your best friends. They help you recover blown-out skies or bring detail back to dark areas.Think of it like adjusting the blinds in a room to let in just the right amount of light.
5. Add Clarity, Texture, and Dehaze
Want to make your photo pop? These tools enhance details without making things look fake.- Clarity: Boosts midtone contrast (perfect for landscapes)
- Texture: Adds or removes fine detail (great for portraits)
- Dehaze: Removes or adds atmospheric haze (awesome for scenery)
Go easy though—too much and your photo will start to look unnatural.
6. Fine-Tune Color
This is where your photo starts to come alive.- White Balance: Adjust the warmth or coolness
- Saturation/Vibrance: Make colors bolder (but not radioactive)
- HSL Panel: Change Hue, Saturation, and Luminance of individual colors
Want your blue sky to look deeper or that green grass to be less neon? HSL is your playground.
7. Sharpening and Noise Reduction
Every digital photo needs a bit of sharpening, especially after resizing.- Sharpening: Adds crispness
- Noise Reduction: Smooths out graininess (especially in low-light shots)
Balance is key. Over-sharpening can make things look crunchy, and too much noise reduction makes them look smeared.
8. Use Local Adjustments
Sometimes a global edit just isn’t enough. Use brushes, gradients, or radial filters to adjust specific areas.Example: Brighten just the subject’s face, or add a hint of warmth to the horizon.
This is how pros create depth and guide the viewer’s eye.
9. Apply Lens Corrections and Remove Spots
Most editing programs can auto-correct distortion, vignetting, and chromatic aberration based on your camera and lens data.Don’t forget to zap away those pesky sensor spots or dust marks using the healing tool.
10. Save and Export the Right Way
When you're happy with the edit, export your photo with the right settings.- For web: JPEG, sRGB, around 70–80% quality
- For print: TIFF, Adobe RGB or ProPhoto RGB
Always keep a high-res version in case you need to print later.
💡 Pro Tips for Taking Your Editing to the Next Level
- Use Presets or Create Your Own: They save time and give your photo a consistent look.- Edit With Intent: Don’t just slide things around. Know what you’re trying to achieve.
- Zoom In and Out Often: Check for weird artifacts or awkward details.
- Step Away and Come Back Later: A fresh set of eyes makes a huge difference.
- Watch Tutorials: The minute you stop learning, you stop growing.
🧠 Common Editing Mistakes to Avoid
Even pros mess up sometimes, but here are some rookie mistakes to sidestep:- Over-editing: It’s tempting, but less is more.
- Oversaturation: Your photo shouldn’t look like a cartoon.
- Ignoring the Histogram: It tells you if your photo is too dark or too light.
- Inconsistent Style: Find your visual voice and stick to it.
It’s okay to experiment, but always aim for balance and authenticity.
🖼️ Editing Styles: Finding Your Aesthetic
Do you like images that are moody and dark? Or light and airy? Maybe crisp and bold?Your editing style is like your signature—it defines your brand. Try different looks until something clicks.
Bonus tip: Save your favorite edits as presets. That way, you'll always have a base look to start from.
📲 What About Editing on Your Phone?
Honestly, mobile editing apps are insanely powerful now. If you don’t have time to sit at your desktop, here are some great apps:- Lightroom Mobile
- VSCO
- Snapseed
- Afterlight
Perfect for quick edits before you throw a photo up on Instagram.
🧭 Final Thoughts
Editing digital camera photos like a professional doesn’t mean you need to spend hours on each picture or shell out tons of cash on gear. What really matters is understanding what makes a photo look good—and having the tools to bring that vision to life.Remember, every great photographer started out clueless. The only difference is they kept practicing.
So, don’t be afraid to try, fail, and try again. With each photo you edit, you’ll grow your eye, sharpen your skills, and shape your unique style. Before you know it, your friends will be asking, “Wow, did you really take that?”
Yes. Yes, you did—and you made it look amazing.
all images in this post were generated using AI tools
Category:
Digital CamerasAuthor:

Michael Robinson
Discussion
rate this article
2 comments
Sonya McCollum
Transform pixels into art; your vision deserves to shine bright.
November 12, 2025 at 5:59 AM

Michael Robinson
Thank you! I believe every photo has the potential to be a masterpiece with the right techniques.
Preston Hayes
Editing photos like a pro? Just remember: every great masterpiece starts with a little chaos—and possibly a cat walking across your keyboard!
August 1, 2025 at 4:36 AM

Michael Robinson
Absolutely! Embracing the chaos can lead to creative breakthroughs—cats included! Happy editing!


