Understanding White Balance: A Crucial Setting for Digital Photographers
5 June 2026
If you're into photography, you've probably come across the term "white balance" more than a few times. But what exactly does it mean? Why is it important? And how can mastering white balance take your photos from average to absolutely stunning?
Well, buckle up, because we're about to dive deep into the world of white balance, demystifying this essential camera setting, and showing you why it should be at the top of your list of things to understand as a digital photographer.
What is White Balance?
Let’s start with the basics. White balance, simply put, refers to the process of adjusting the colors in your photos to make them look more natural. It's all about ensuring that the whites in your image actually appear white, and colors are accurately represented. Sounds simple enough, right?But here's the tricky part: light isn’t always “white.” Different light sources have different color temperatures, and this can affect how your camera perceives colors. For instance, the warm light from a sunset may cast an orange hue, while fluorescent lights can give off a cooler, bluish tint.
Your camera doesn’t always know how to handle these different types of light automatically, and that’s where white balance comes in. By adjusting the white balance, you're telling your camera how to interpret the light temperature, ensuring that the colors in your image look true-to-life.
Why Does White Balance Matter?
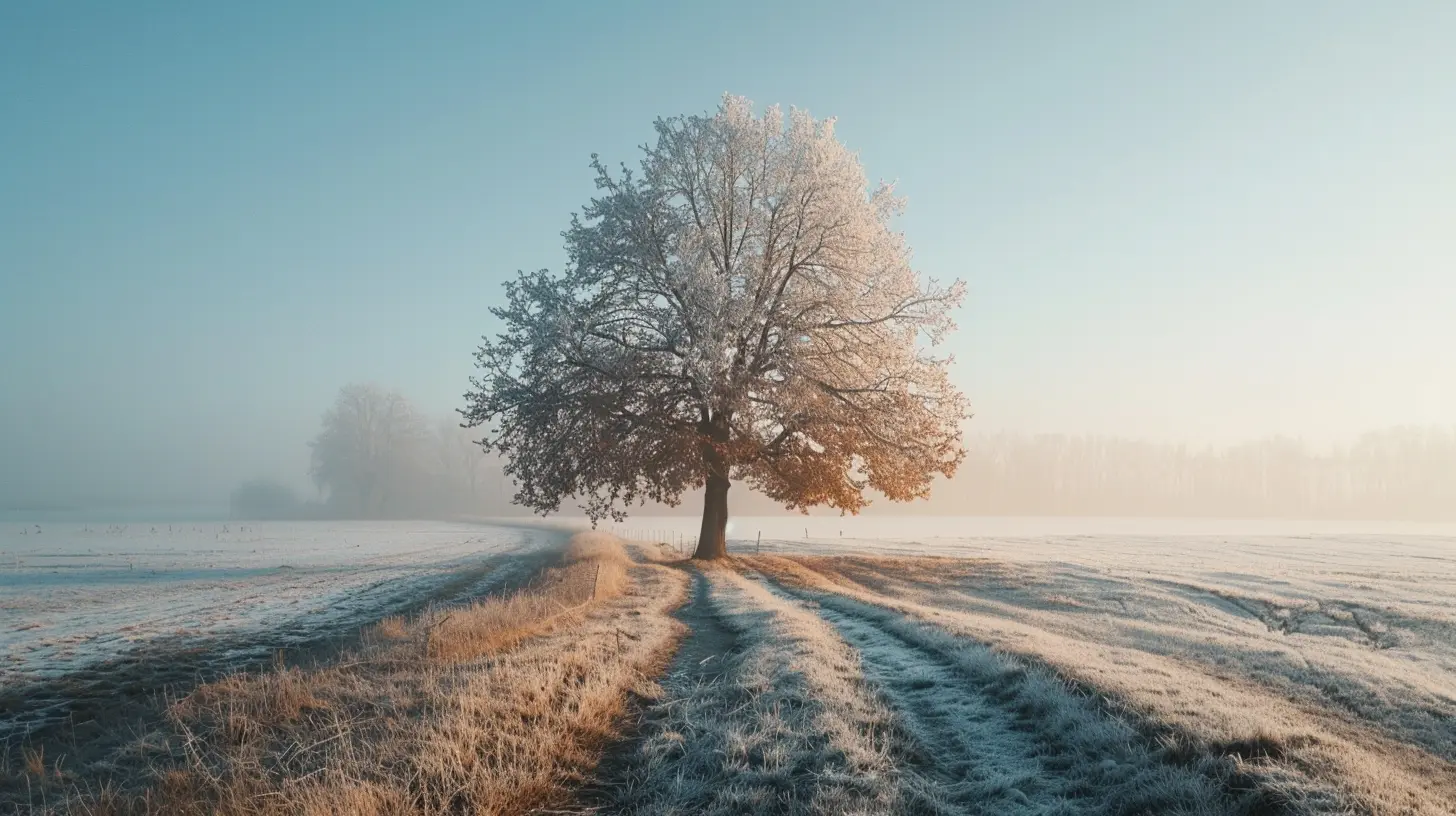
Let me put it this way: imagine you’ve just taken the perfect shot of a snow-covered landscape. The composition is spot on, the subject is perfectly framed, but the snow looks yellowish or blueish instead of crisp, clean white. Yikes, right? This is what happens when the white balance is off.White balance affects the overall mood and realism of your photograph. When done right, it can make the colors in your photo pop or maintain a natural and true-to-life representation of the scene. When done wrong, it can completely ruin an image, making it feel off or unnatural.
So yeah, white balance matters—a lot. And for those serious about photography, learning how to control it is crucial.
Understanding Color Temperature
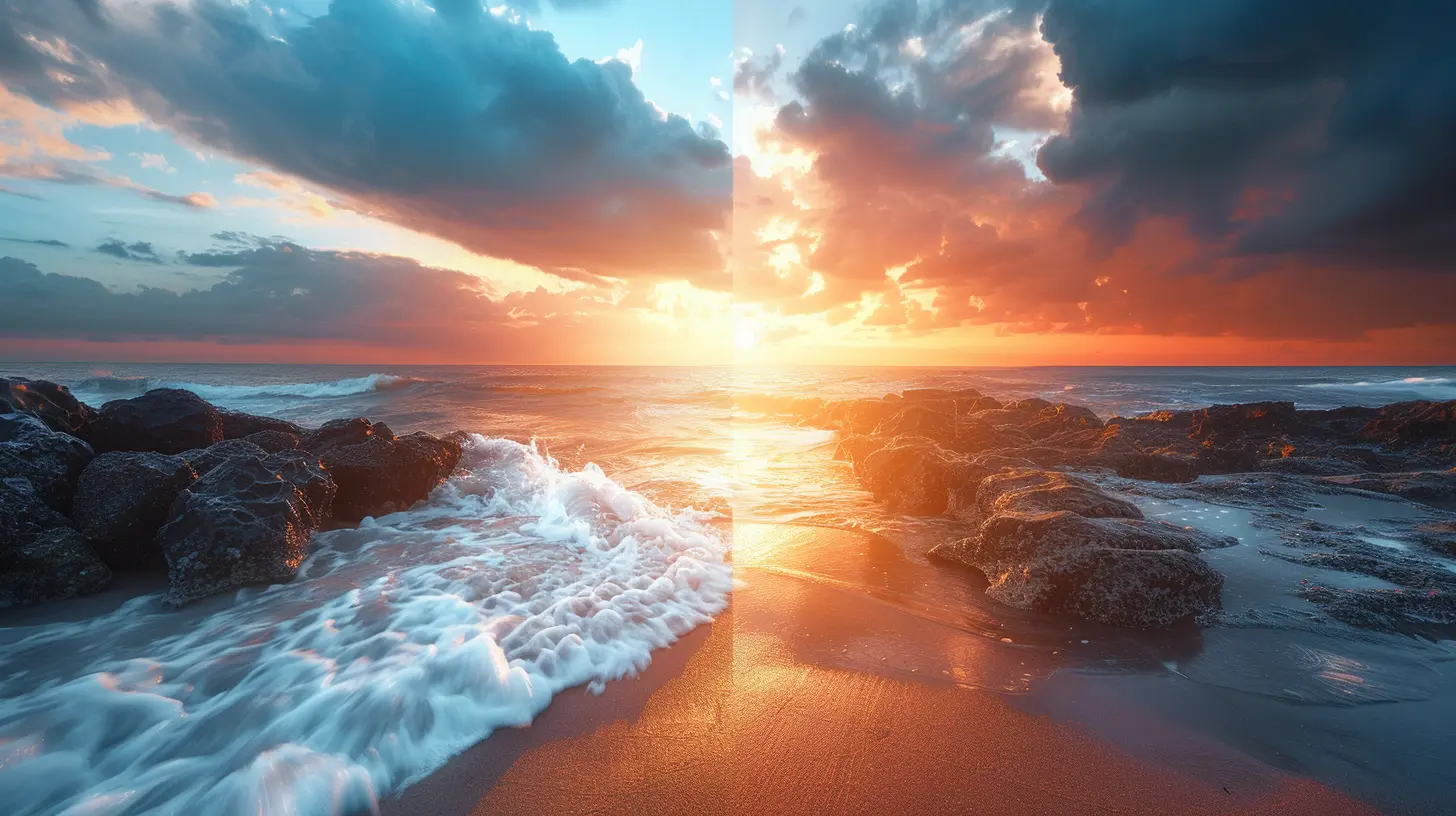
To get a better handle on white balance, you need to understand the concept of color temperature. Color temperature is a way to describe the color characteristics of light, measured in degrees Kelvin (K).- Warm Light: Lower color temperatures (around 2,000K to 4,000K) tend to be "warmer," meaning they have a yellow or orange tint. Think of candlelight or a sunset.
- Cool Light: Higher color temperatures (5,000K to 10,000K) are "cooler," meaning they have a bluish tint. Think of an overcast day or fluorescent lighting.
Most daytime sunlight falls somewhere in the middle, around 5,500K to 6,500K, which is generally considered neutral.
Your camera's white balance setting adjusts for these varying color temperatures to ensure that white objects appear white, no matter the light source.
Color Temperature in Real Life
We actually experience different color temperatures all the time in our daily lives, but our eyes naturally adjust to them. For example, you probably don’t notice the warm glow of indoor lighting at night, or the cool blue tint of shade during the day, because your brain corrects for it.Cameras, though, aren't as clever as the human eye. They need a little help to accurately interpret the color of light, and that’s why white balance settings exist.
White Balance Settings on Your Camera
Most digital cameras come with a set of predefined white balance options, and many of them are pretty intuitive. Here’s a rundown of the most common ones you’ll find:1. Auto White Balance (AWB)
Auto White Balance is the default setting on most cameras, and in many cases, it does a fairly decent job of correcting colors. The camera tries to guess the color temperature of the scene and adjusts accordingly. But while AWB is convenient, it’s not always 100% accurate. It can struggle in tricky lighting situations, like mixed light sources or very warm or cool environments.2. Daylight/Sunny
This setting is designed for use in daylight or sunny conditions, where the color temperature is quite neutral (around 5,500K). It’s a great option when you're shooting outdoors, but not necessary if you're relying on Auto White Balance, as most cameras handle daylight pretty well on their own.3. Cloudy
When shooting under an overcast sky, the light tends to be cooler, with a bluish tint. The Cloudy setting compensates for this by adding warmth to the photo, making it look more natural.4. Shade
Shade lighting often has an even cooler blue tint compared to cloudy skies. The Shade setting adds even more warmth than the Cloudy setting to counterbalance the cool light.5. Tungsten/Incandescent
Tungsten or incandescent light bulbs give off a very warm, yellow-orange light. The Tungsten setting cools down the colors in your photo to compensate for this. It’s ideal for indoor shots under standard lighting.6. Fluorescent
Fluorescent lights tend to cast a cooler, bluish tone. The Fluorescent setting adds warmth to neutralize this and create a more accurate color balance in your photo.7. Flash
The light from a camera flash can be quite harsh and cool. The Flash setting adds a bit of warmth to balance it out, ensuring your photos don’t look overly cold or stark.8. Custom/Manual White Balance
If you want to get really precise, you can set a custom white balance by using a reference image of a neutral grey or white object. This can be especially useful in challenging lighting conditions where none of the preset options work well.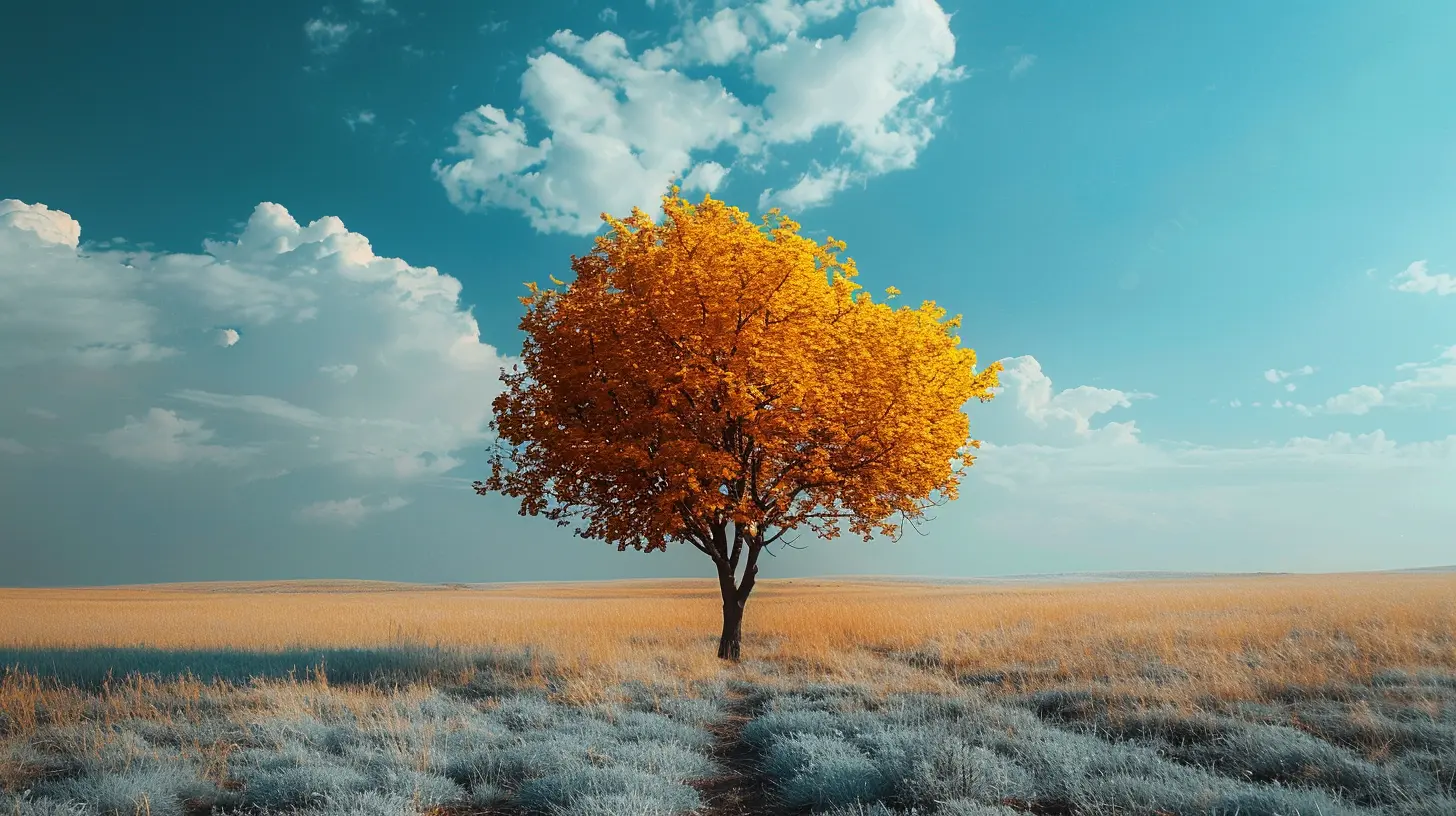
How to Set Custom White Balance
If you're really serious about nailing white balance, custom settings are the way to go. Here’s how you can do it:1. Take a photo of a neutral object: This could be a white or grey card, often used by pros. Make sure the object is lit by the same light source as your subject.
2. Go to the custom white balance setting: This option varies depending on your camera brand, but it’s usually found in the white balance menu.
3. Select the reference photo: Your camera will prompt you to choose the image you just took as the reference for white balance. Once selected, the camera will adjust its settings based on the color temperature in the reference image.
4. Shoot away: Now, all your photos taken under the same lighting conditions should have accurate colors.
Sounds a bit tedious? It can be, but once you get the hang of it, it’s a game-changer for tricky lighting situations.
RAW vs JPEG and White Balance
Here’s a pro tip: if you shoot in RAW format rather than JPEG, you have a lot more flexibility when it comes to white balance. RAW files preserve all of the image data, so you can adjust the white balance later in post-processing without losing image quality. In contrast, if you shoot in JPEG, the camera makes its white balance adjustments at the time of capture, and you’ll have far less room to tweak it later.So, if you’re serious about having full control over your white balance (and many other aspects of your photo), consider shooting in RAW.
Post-Processing: Fixing White Balance After the Fact
Let’s say you didn’t quite nail the white balance when you were shooting. No worries, because you can often fix it later during post-processing, especially if you shot in RAW. Most photo editing software like Adobe Lightroom or Photoshop has a white balance adjustment tool.In Lightroom, for instance, you can use the white balance eyedropper tool to click on a neutral area in your photo (something that should be white or grey). The software will automatically adjust the colors to make that area neutral, and by extension, correct the overall balance of the image.
Final Thoughts: Mastering White Balance
White balance might seem like a small detail, but it plays a huge role in how your photos turn out. Whether you're shooting a golden sunset, a snowy landscape, or an indoor portrait, getting the white balance right can make all the difference between a photo that looks amateurish and one that looks professional.So the next time you head out with your camera, don't just leave it to Auto White Balance. Take control, experiment with different settings, and see how they affect the mood and feel of your images. Over time, you'll develop an intuitive sense for what works best in different lighting conditions, and your photos will look all the better for it.
Happy shooting!
all images in this post were generated using AI tools
Category:
Digital CamerasAuthor:

Michael Robinson
Discussion
rate this article
1 comments
Seraphine Thomas
White balance is essential for capturing true colors. Mastering this setting can significantly elevate your photography game. Don't overlook it.
June 5, 2026 at 11:53 AM
Michael Robinson
Absolutely! Proper white balance transforms your photos by revealing their true colors. It's a game changer.