Using Your Digital Camera for Wildlife Photography: Essential Tips
27 March 2026
So, you’ve got yourself a shiny digital camera and a burning desire to capture the raw, untamed beauty of wildlife? That’s awesome! Get ready to ditch those basic Instagram selfies and dive into a photo adventure where your subjects don’t pose, can run off in a split second, and may or may not try to eat you (kidding… kinda).
Wildlife photography isn’t just about pointing your camera at a squirrel and praying it doesn’t scamper off. Nope. It’s an art that combines patience, precision, and a good dose of adventure. But don’t sweat it — I’m here to be your wild guide into the jungle (or, you know, your local park).
Let’s break down exactly how to wield that digital camera like a pro and capture animals in all their gorgeous, unpredictable glory.
📸 First Things First: Know Your Camera Like It’s Your BFF
Okay, before you even think about going on a wildlife shoot, ask yourself this — do you know what every button on your camera does? If your answer is “Ehh… kinda?”, then my friend, it’s time to bond with your gear.Digital cameras, especially DSLRs and mirrorless ones, are more than glorified point-and-shoots. You’ve got to master:
- Manual Mode – Take full control of aperture, shutter speed, and ISO.
- Burst Mode – Because one shot is NEVER enough when an eagle takes flight.
- Focus Modes – Continuous autofocus (AF-C or AI Servo) is your buddy.
- Custom Presets – Save your go-to settings for quick access.
Pro tip? Practice in your backyard. If you can capture a hummingbird mid-flight, you’re ready for the savannah… or at least the state park.
🦁 Choose the Right Lens (Because Size Does Matter)
Let’s get real — if you’re planning to shoot wildlife with a 50mm lens, you’re gonna need a miracle or a really brave squirrel.Here’s what you need:
🔭 Telephoto Lens = Best Friend
A 300mm or higher is ideal, especially for birds and shy animals. It lets you zoom in from far away without scaring your subject or risking a bear hug (literally).📦 Consider a Zoom Lens
Something like a 100-400mm gives you flexibility. You can shoot a bird in a tree, then zoom out for that dramatic landscape.💰 On a Tight Budget?
No shame in that game. Try a used lens or even a bridge camera with a solid zoom. Better gear helps, but great photography is mostly YOU.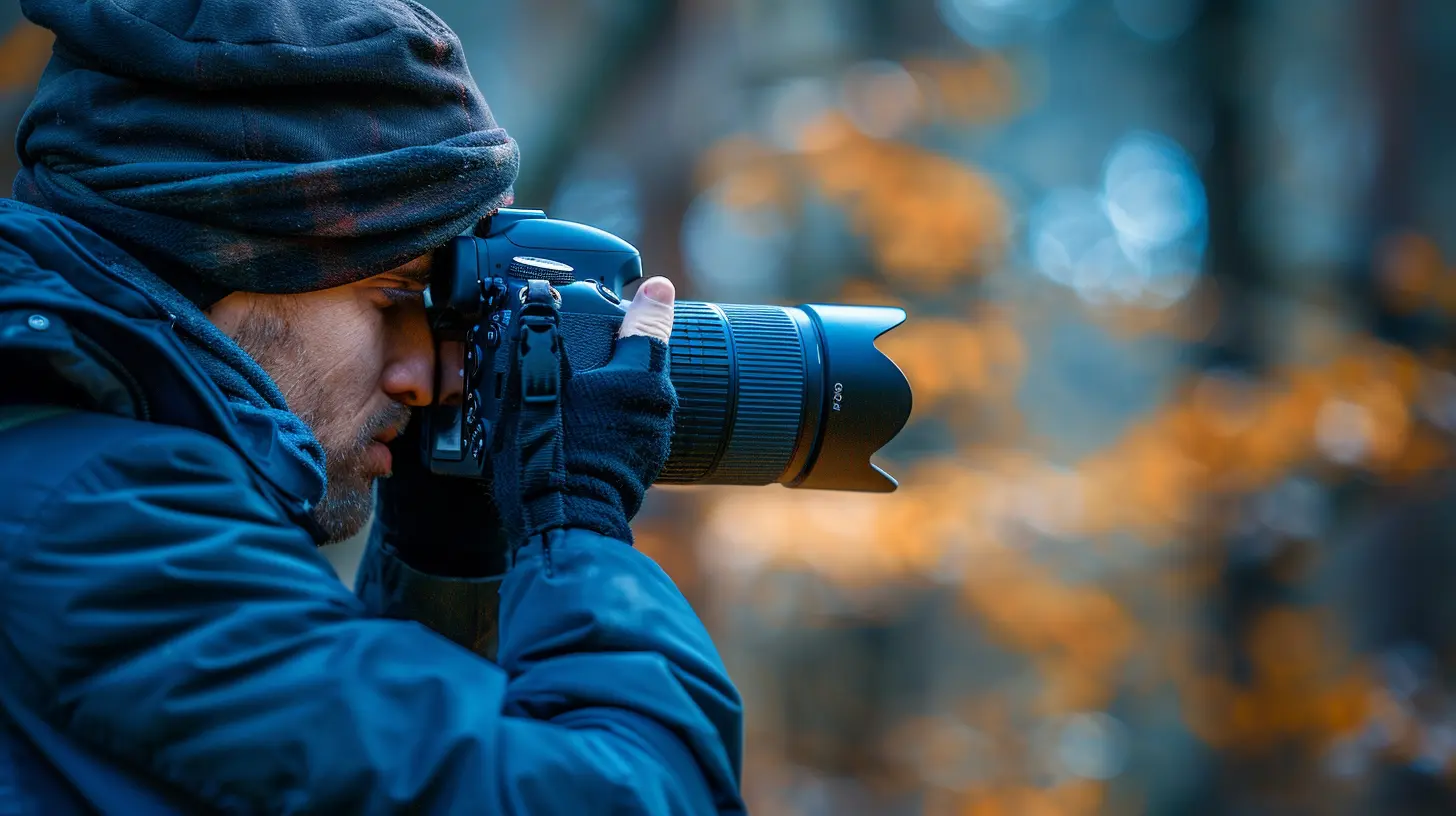
🏞️ Location, Location, Location
You can’t shoot what isn’t there, right? So, it’s time to get strategic with your location scouting.🌳 Local Wildlife Reserves
Perfect if you’re just starting out. Animals here are often used to humans — great for practice.🐘 National Parks and Safaris
Ready to level up? These are your gold mines. From lions in Africa to moose in Canada, the possibilities are endless.🧭 Know the Animals
Study the typical habitats, patterns, and behaviors of your target species. When do they eat? Where do they rest? Are they early risers? Knowing this can mean the difference between an award-winning shot and an empty memory card.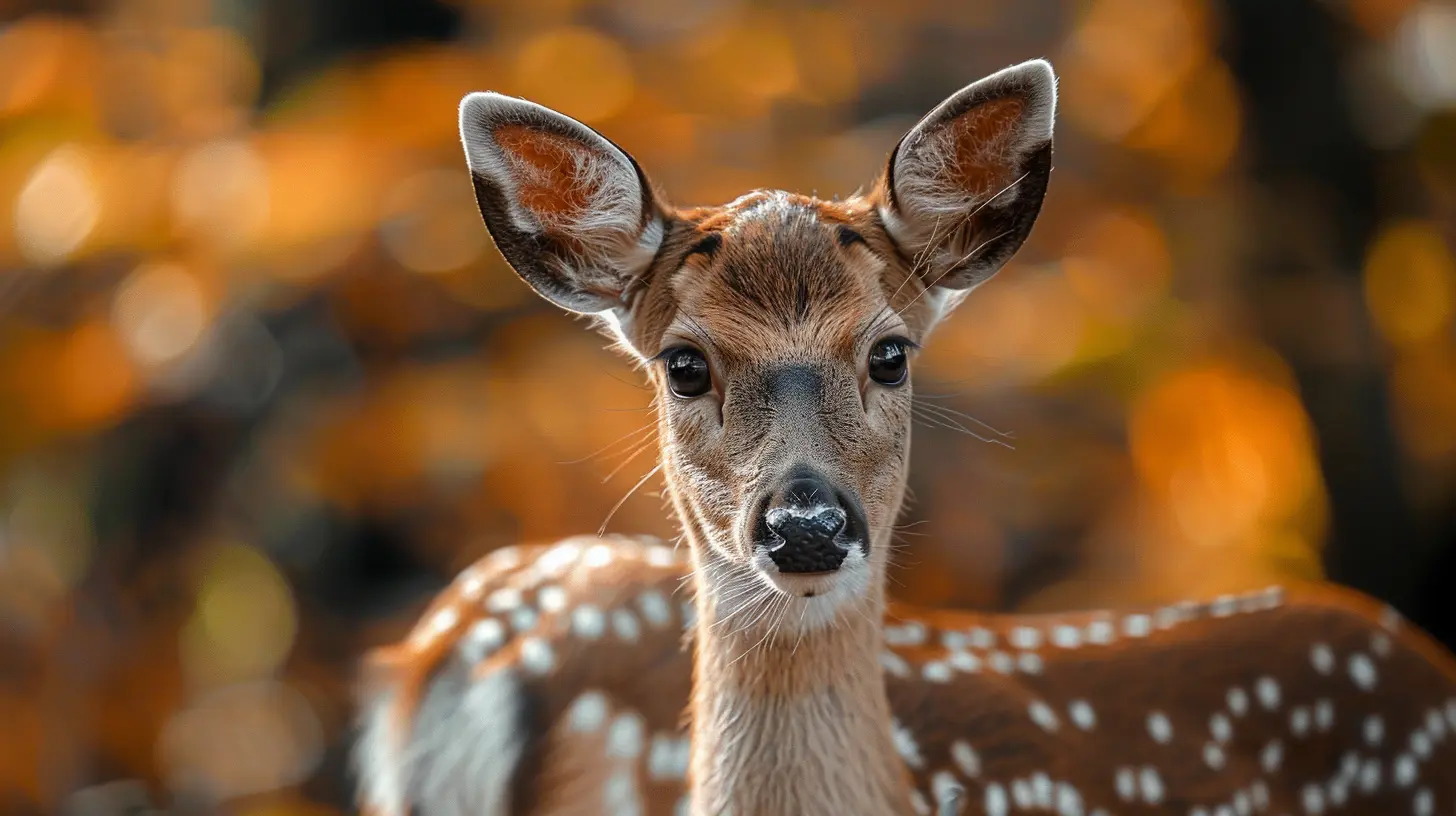
🕰️ Timing Is Everything
Wildlife doesn’t operate on your 9-to-5 schedule. If you want killer shots…🌅 Shoot During Golden Hours
That’s dawn and dusk, baby — when the light is soft and dreamy, and animals are most active. Harsh noon sun? Photos will look flat and bleh.🌨️ Weather Watch
Don’t be scared of a little drizzle. Overcast skies = diffused lighting = chef’s kiss. Just protect your gear!🤫 Master the Art of Stealth
Wild animals scare easy. If they hear you coming from a mile away, all you’ll photograph is butt ends as they run away.🧣 Dress Right
Wear muted colors. No neon jackets unless you're photographing traffic cones in the wild.👣 Move Slowly
Be the ninja. No sudden movements. No yelling. Silence is golden.🥾 Patience Isn’t Just a Virtue — It’s the Whole Game
You might wait hours for a single shot. But when that majestic elk turns toward the setting sun and you nail the image? Totally worth every mosquito bite.⚙️ Dial In These Camera Settings
Settings = your secret weapon. Let’s nerd out for a sec:🔍 Shutter Speed
Fast = freeze the action. Think 1/1000 or higher for flying birds or running animals.🌞 Aperture
Wide aperture (low f-number) = blurred background, crisp subject. Great for making that raccoon look like a Vogue model.📈 ISO
Keep it low to avoid noise (grainy photos), but you may need to crank it in low light. A good balance is key.🎯 Focus Mode
Stick to continuous autofocus. Animals move fast. So should your focus.🧠 Think Like an Animal (Yes, Really)
No, you don’t need to start growling or marking your territory — but understanding animal behavior? Game-changer.🔎 Look for Patterns
Birds return to the same branch. Deer follow the same trails. Pay attention and anticipate.🐾 Stay Downwind
Predators like wolves or bears? Smell matters. Be downwind to go unnoticed.🗣️ Body Language Matters
An alert ear flick, a cautious step — these are cues. Learn them and you’ll know exactly when to click that shutter.🔋 Don’t Let Your Gear Let You Down
Imagine you're out there, a rare owl lands right in front of you, and… your battery dies.Cue dramatic scream.
🔋 Bring Backup Batteries
And chargers. And maybe some tears for when you forget them.💾 Extra Memory Cards
Wildlife sessions can devour space fast, especially in RAW. Carry at least 2-3 extras.🚿 Weatherproofing
Rain? Dust? Pollen? Protect your gear with covers. Trust me, gear rehab is expensive.🤳 Composition: It Ain’t Just “Point and Shoot”
If photography is storytelling, then composition is your plot twist.🖼️ Rule of Thirds
Don’t center every shot. Offset your subject for a more dynamic image.🌄 Include the Environment
Zoom in, yes, but also show where the animal lives. It adds context and depth.🧘♂️ Keep It Clean
Watch the background. Nobody wants a majestic lion with a trash can behind it.📚 Post-Processing: The Secret Sauce
You’ve got the shot. Now make it pop.💻 Use Editing Software
Lightroom, Photoshop, or even mobile apps — clean up shadows, sharpen details, and adjust colors.❌ Don’t Overdo It
The goal is to enhance, not to make it look like you photoshopped a giraffe into Times Square.💯 Bonus Tips You’ll Thank Me For Later
- Shoot in RAW: Gives you so much flexibility when editing.- Stay Safe: Wildlife is wild. Don’t be a story on the evening news.
- Practice Makes Perfect: Keep shooting. Even if it's just squirrels in your yard.
- Join a Community: Share your shots, get feedback, and learn faster.
🦜 Final Thoughts: Get Out There and Get Wild!
Honestly, using your digital camera for wildlife photography is one of the most thrilling, humbling, and rewarding creative adventures you can have. It’s not always easy — you’ll face missed shots, bad weather, and a whole lotta waiting. But when you capture that perfect moment? When the light hits just right and a creature looks straight into your lens?Absolutely magical.
So grab your gear, lace up those boots, and hit the trail. The wild is calling — and your camera is ready.
all images in this post were generated using AI tools
Category:
Digital CamerasAuthor:

Michael Robinson
Discussion
rate this article
2 comments
Vesperos Lozano
Great tips! I love how you broke down the essentials for capturing wildlife. It’s amazing what a little patience and the right approach can do. Can’t wait to try these out on my next hike—fingers crossed for some great shots! Happy photographing! 📸🌿
April 11, 2026 at 12:36 PM
Nym Davis
Absolutely love these tips! Capturing wildlife has never been easier. Excited to try them out!
March 29, 2026 at 12:31 PM
Michael Robinson
Thanks for the feedback! I'm glad you found the tips helpful. Happy shooting!